Posted July 5 2019
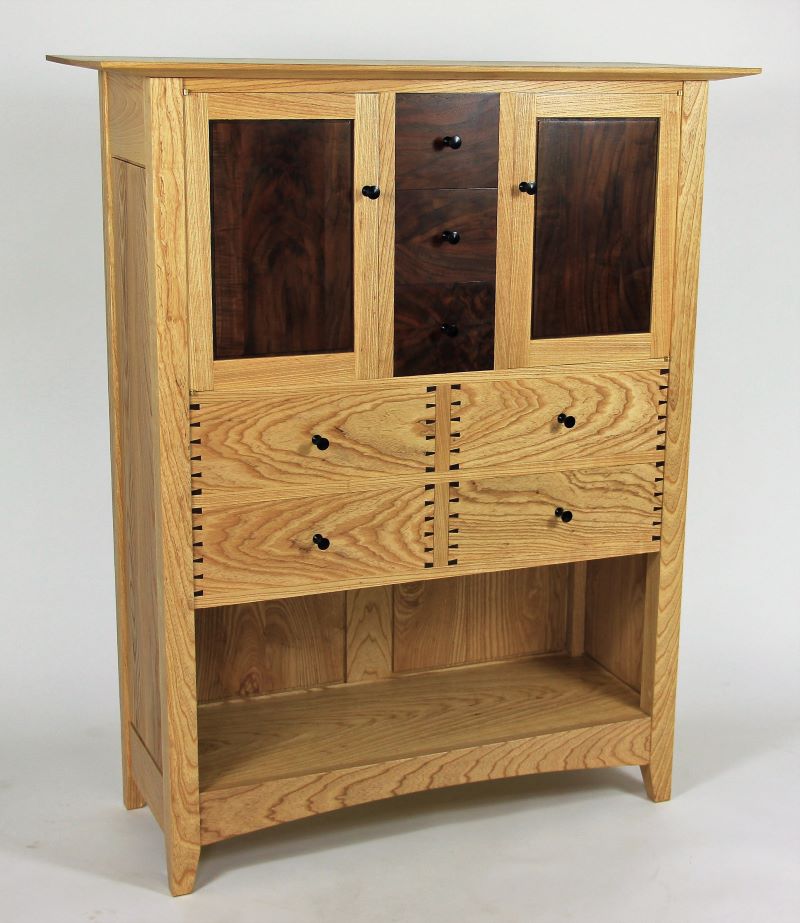
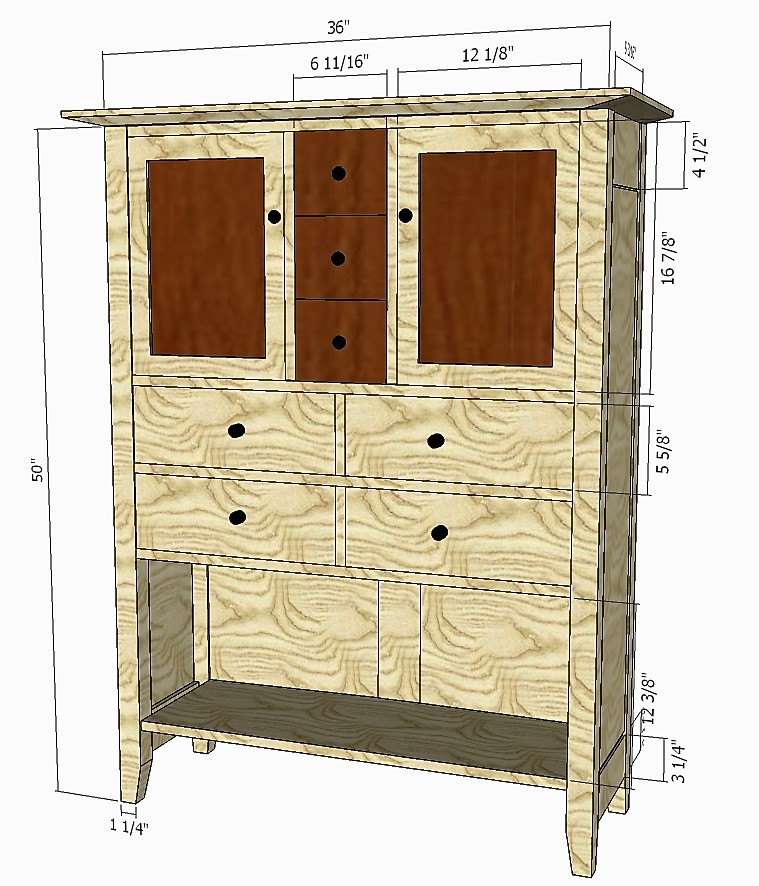
White Ash is a favorite of mine, but not a wood that I've done a lot of pieces with. While similar in color to white oak I find the grain more nuanced and distinctive. My Ash Chair gave me a chance to do some things with curves in the wood, but building a cabinet of it would really showcase the grain. Drawing on some design ideas that I had used in a similar cabinet of all walnut, I drew up something larger that would incorporate some drawers between the doors.
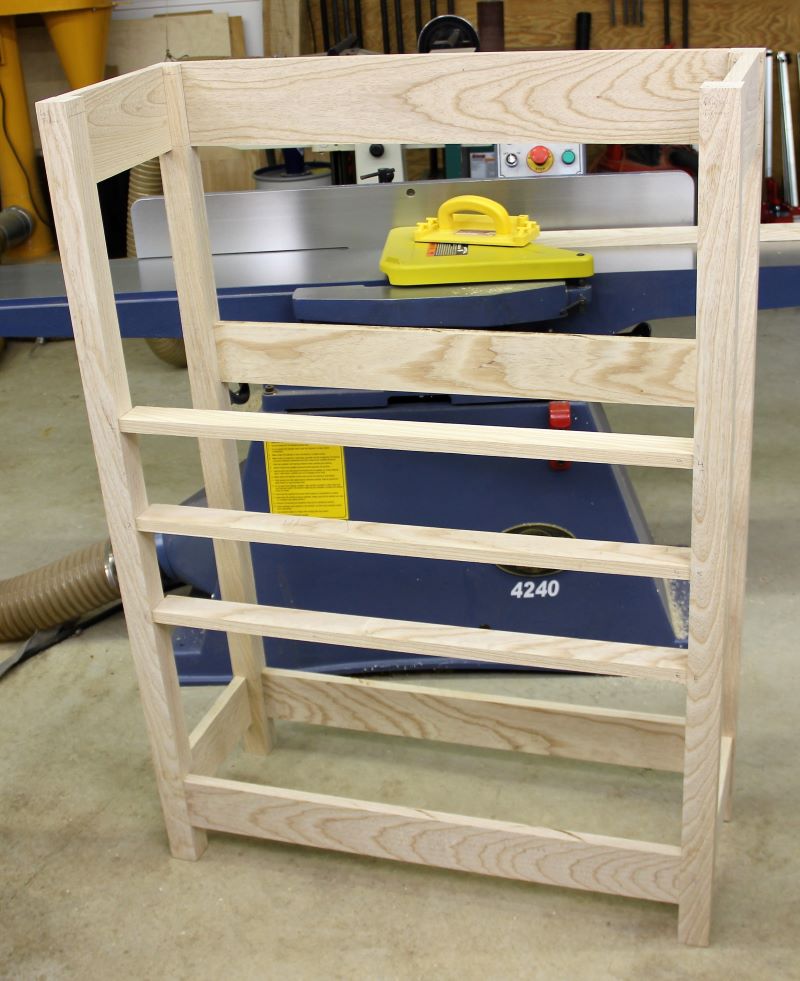
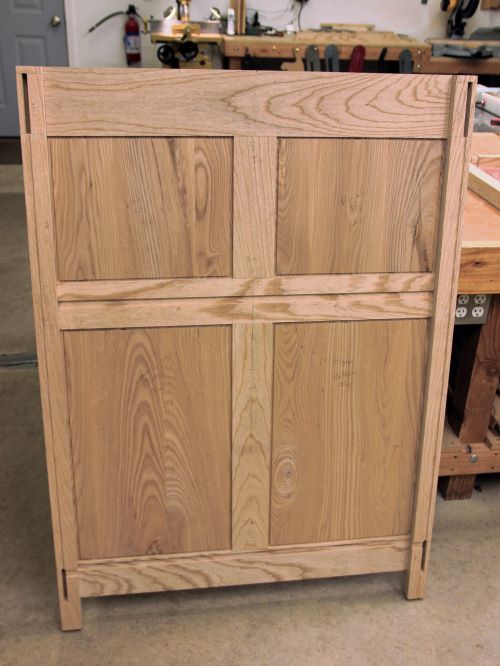
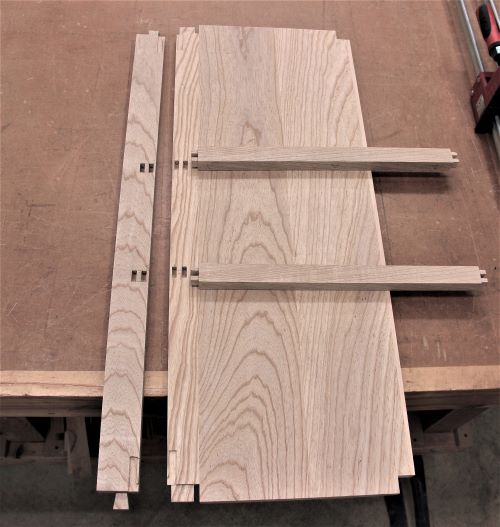
The basic frame is mortise and tenoned together. Three blades are added to the front to separate the drawers and doors. A mid-rail to also included the back to separate the back panels and provide a dado to support the back of the door compartment shelf. The sides have solid glue-up panels that are rabbeted on the edges to fit dadoes in the legs and aprons.
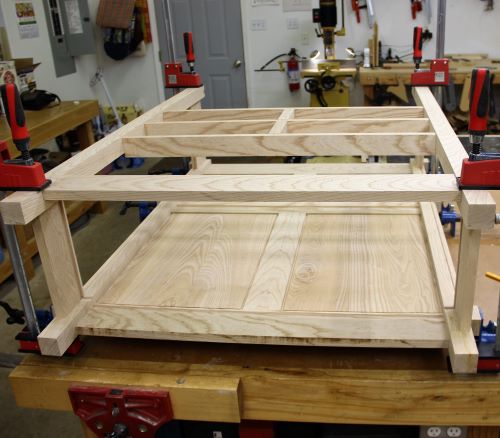
The back is also built of solid glue-up panels that fit into the legs, aprons, rails, and vertical dividers. Mortises are added to the center back vertical divider to accept tenons on the vertical interior drawer dividers. The bottom back apron is also dadoed to accept the back of the bottom shelf. Drawer vertical dividers are composed of 2 pieces: a divider between the blades that is attached top and bottom with tenons and a front-to-back piece that is tenoned to both the front divider and rear vertical divider in the cabinet back. Kickers and runners are tenoned into the ends of the lower 2 blades, while the top shelf is biscuted into the top blade. All of these pieces can be assembled beforehand which simplifies final cabinet glue up.
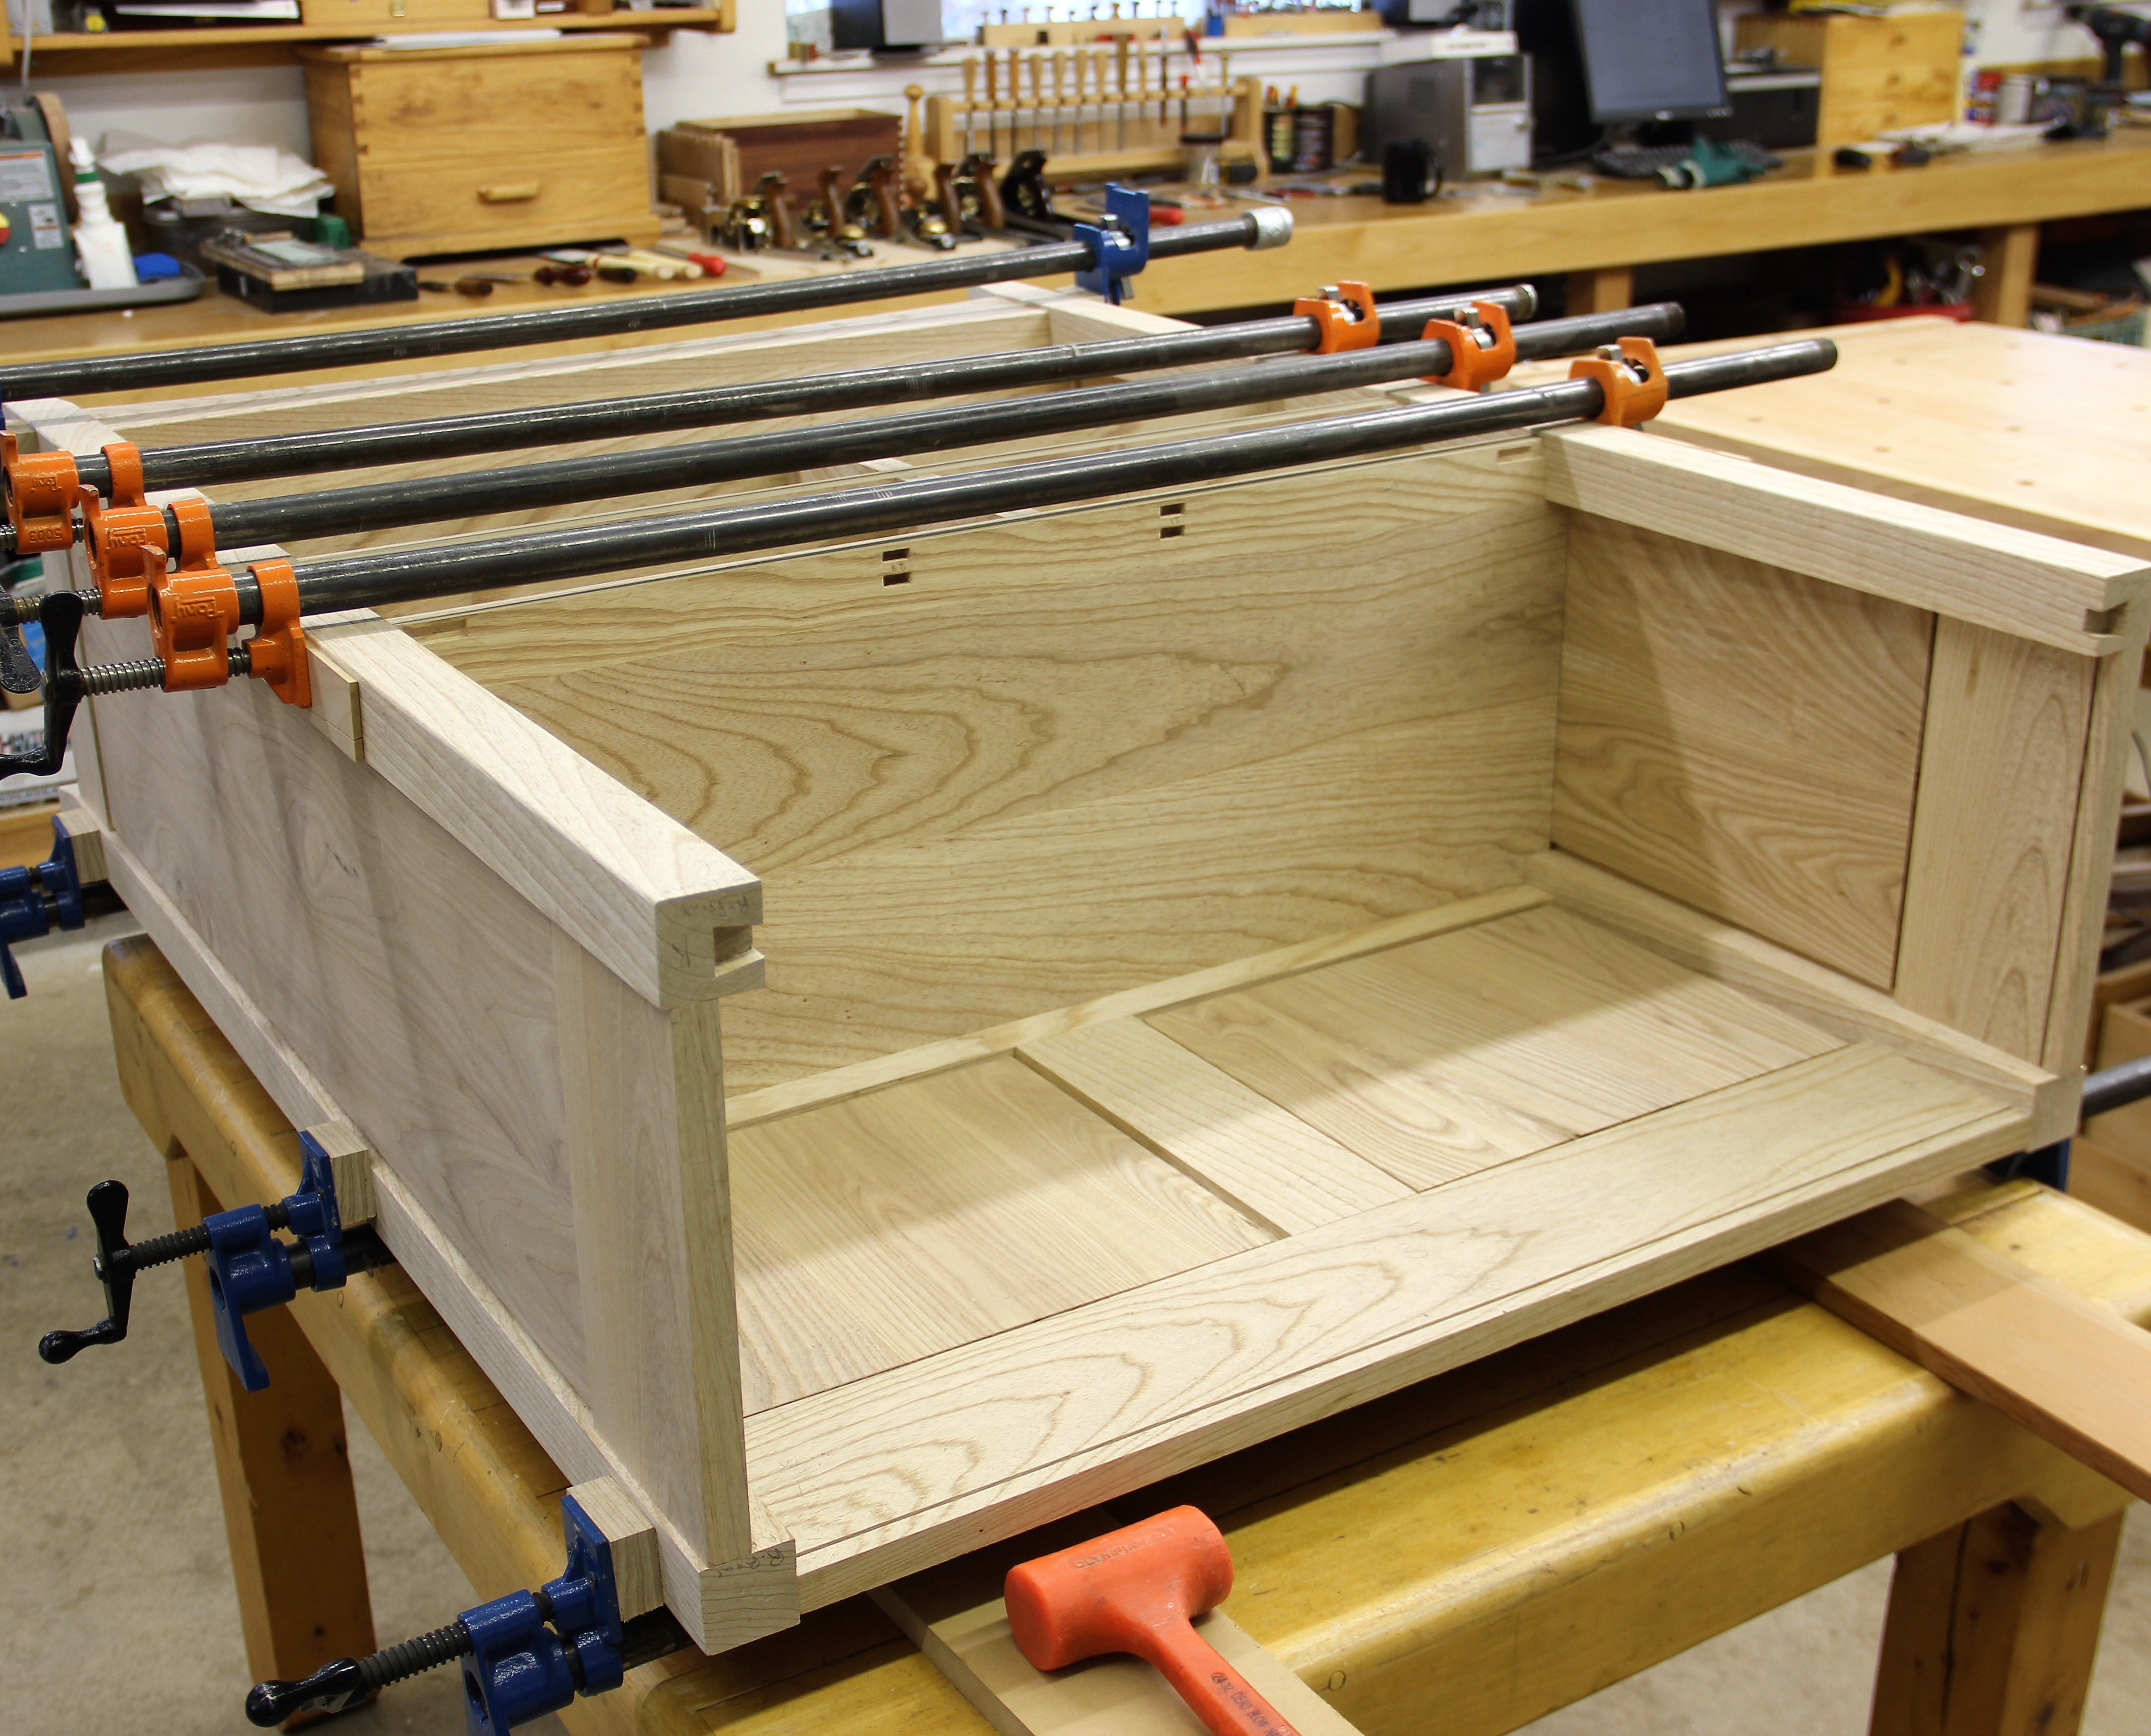
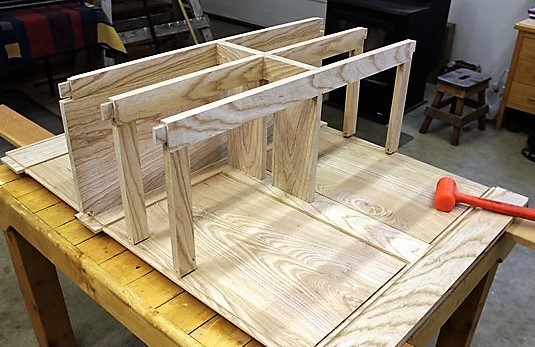
The top shelf and stretcher are mortised to accept drawer dividers and hinges. Vertical front dividers are double-tenoned for attachment to the shelf/blade and stretcher and then will have the front-to-rear dividers biscuted to the edge. Once these preparations are complete, glue up can happen. Back and sides are done separately and then it is just a matter of attaching to sides to the back and divider assembly. No glue is added to the back shelf dadoes to allow for seasonal wood movement.
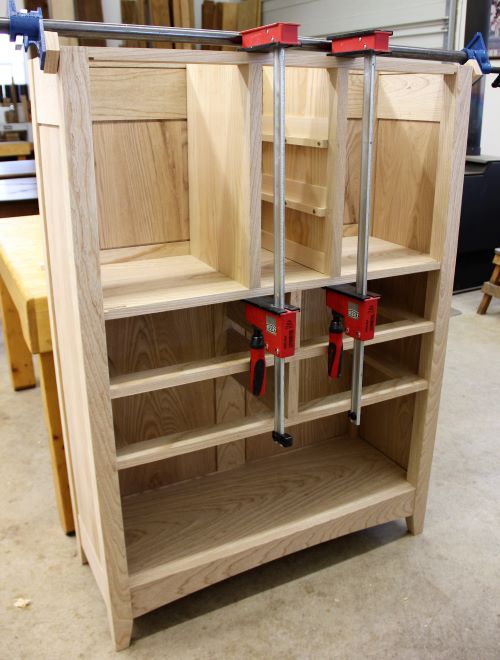
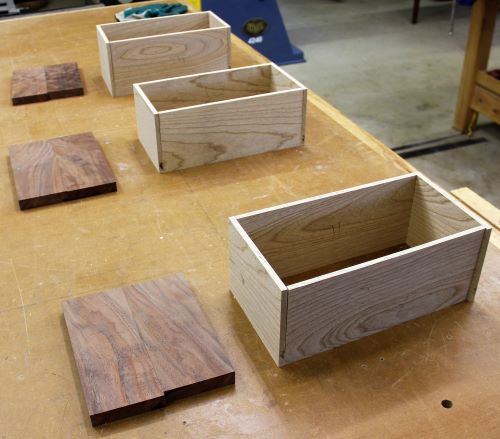
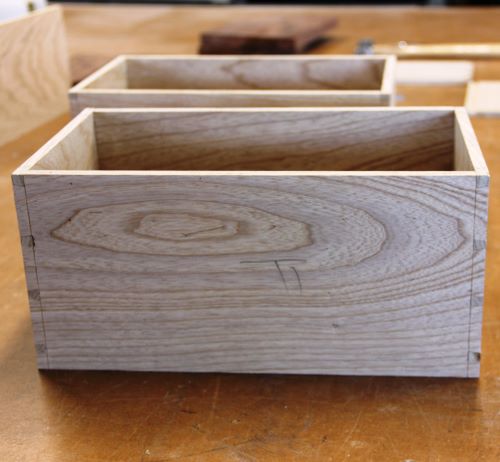
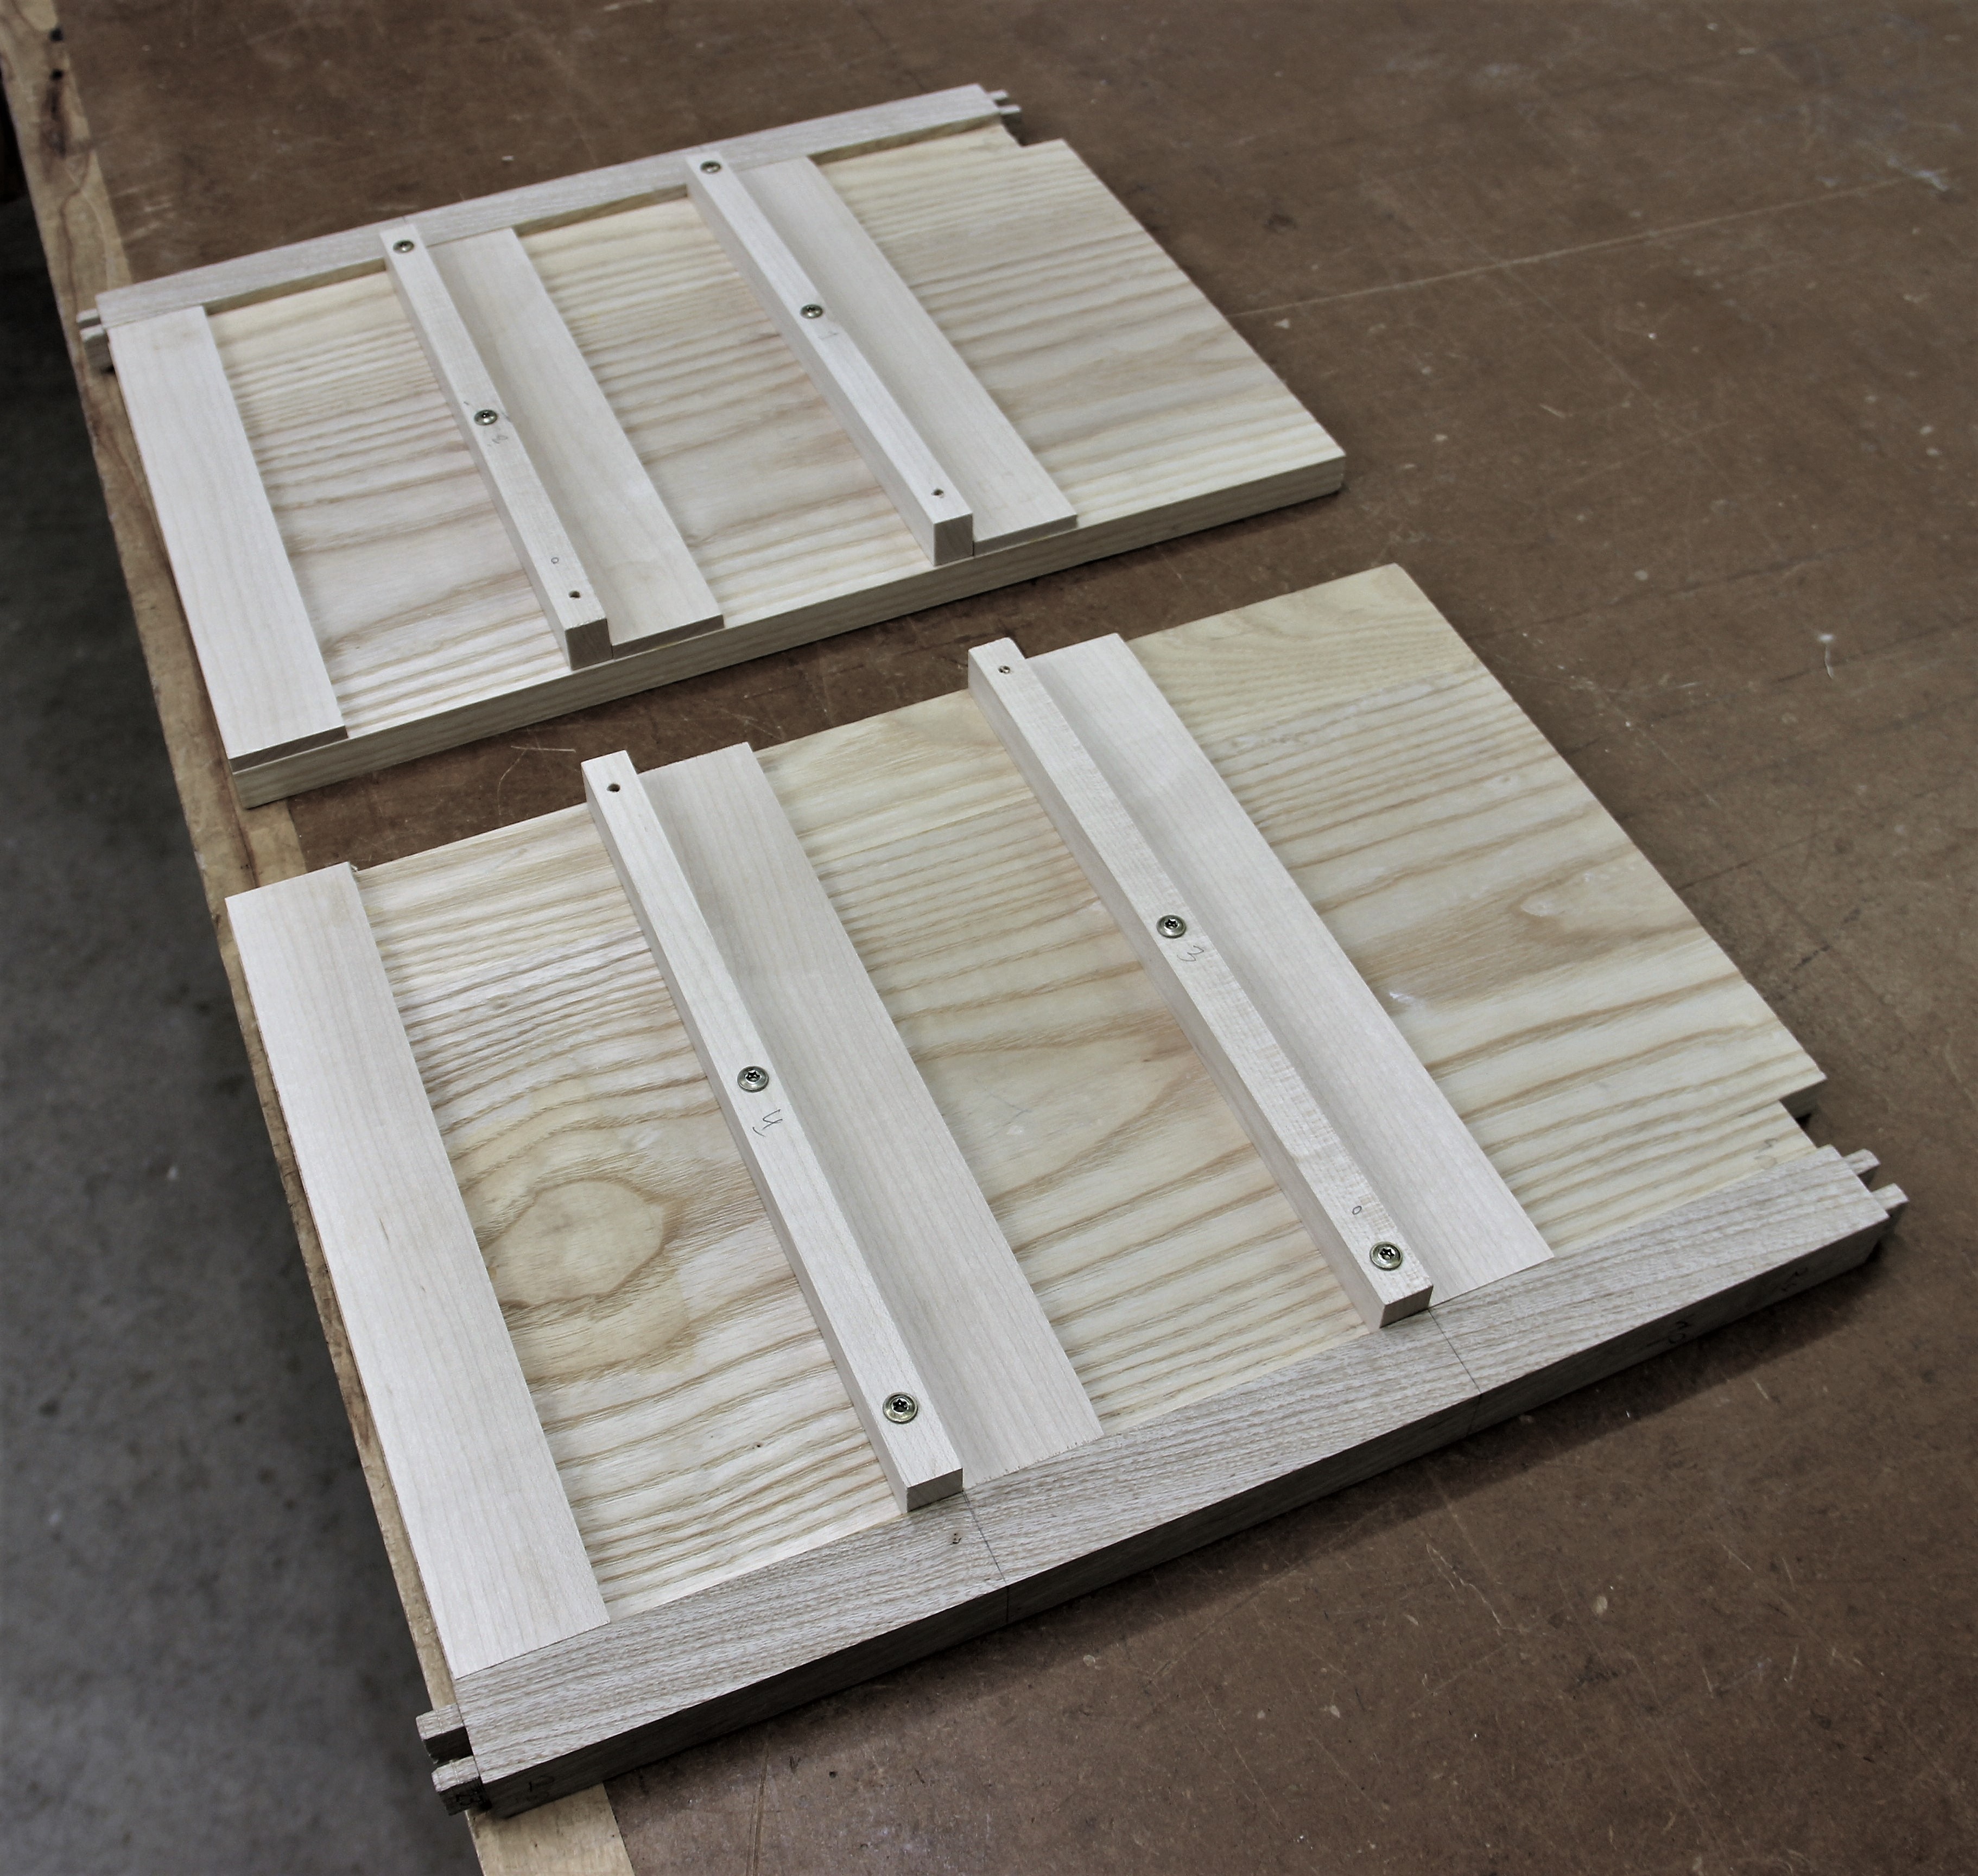
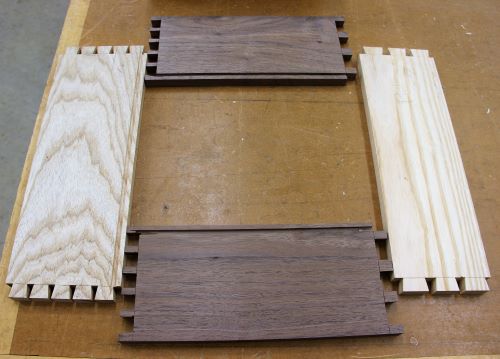
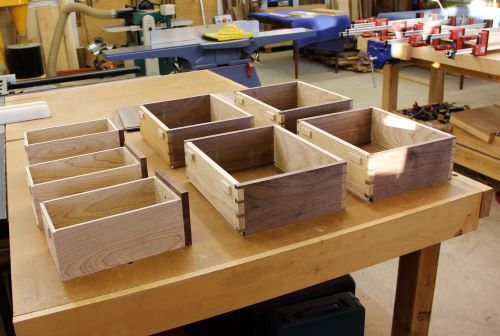
Front-to-back top dividers are biscuted to the edge of the tenoned front vertical dividers. Drawer runners, kickers and spacers are then added to the sides of the dividers. It is then a relatively simple matter to glue the dividers in place to the under side of the stretcher and blade/shelf. The front-to-back dividers stop short of reaching to back to all for seasonal wood movement and are allowed to float between anchors attached to the top rear apron. The 3 upper drawers sides and bottoms are made from ash and through-dovetailed together. The drawer fronts are from some claro walnut pieces that were cobbled together from a previous project. The idea is to provide contrast between the light ash and darker walnut woods.
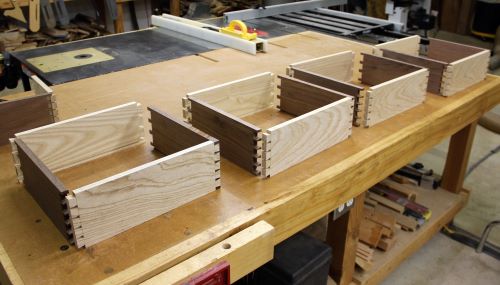
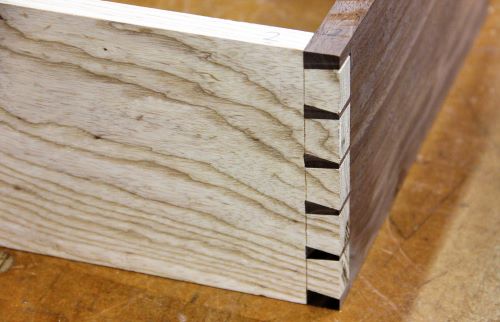
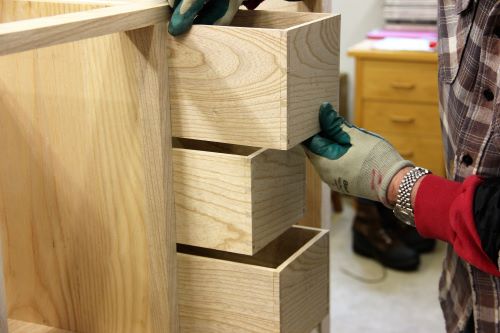
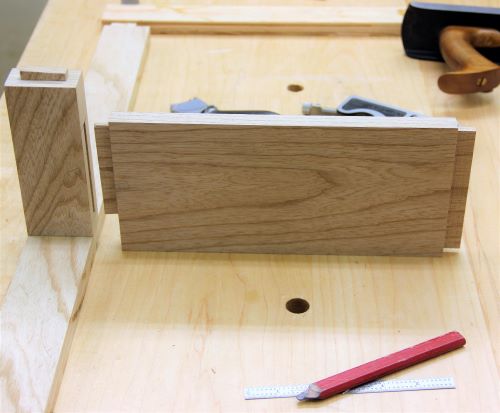
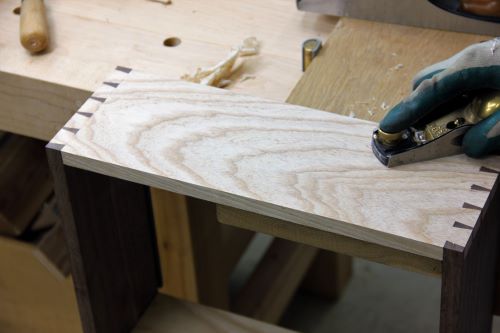
The 4 lower drawers are made also made from ash and walnut. I used thicker than normal boards (~1/2") for the drawer sides in order to get larger pins when hand-sawing the dovetails. In another change, I made the drawer fronts the tail-boards instead of the sides of the drawers, so as to give a more distinctive contrast between the different woods and the geometry of the dovetails. The rough-cut dovetails are shown before hand-planing to fit the openings. The top drawers are carefully fitted to the openings before attaching the walnut fronts. The drawer fronts are then added and allowed to be a little oversize for the hand-planing that will all me to sneak up on the perfect fit. This Ash accepts a plane very nicely and I've tried to orient the grain on the fronts in order to compliment the other grain and grain direction in the piece.
Before glue up, 1/4" dadoes are added to the inside bottoms of the drawer sides for the drawer bottoms. On the drawer back, all the material from dado to the bottom will be removed on the table saw to allow the bottoms to slide into the grooves from the back. The small blocks that are glued on the drawer backs are carefully planed when fitting the drawers to adjust the depth in the cabinet. They are planed until one corner of the drawer front is perfect flush with the case and the other 3 corners are proud. Then the drawer front is hand planed until all of the corners are flush with the case.
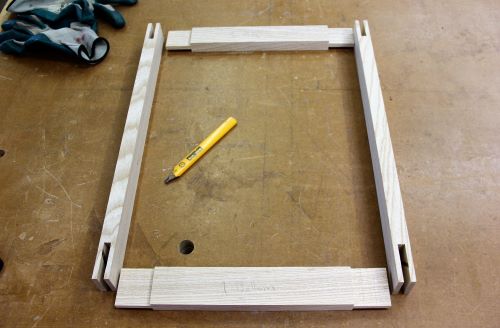
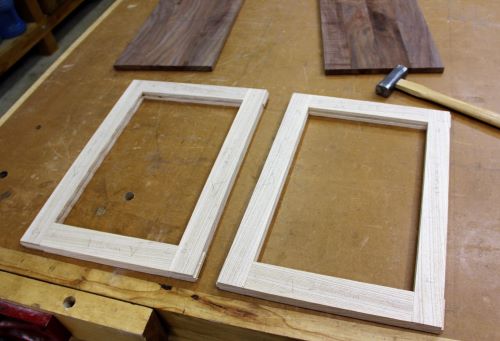

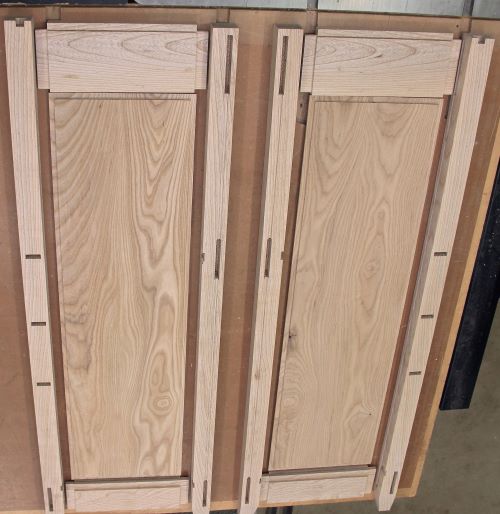
The door frames are made from quarter sawn ash, or as close as I can get to it. This hopefully adds some stability to seasonal wood movement. The pieces are joined with standard bridle joints. The mortises on the ends are cut with a tenon jig on the table saw and the tenons made with a dado stack. Cutting them this way allows the tenons to be cut a little over size and then planed to fit. The insides of the door frame have a 1/4" dado cut to accept the rabbets cut around the edge of the walnut drawer fronts. I find it easiest to fit doors with the cabinet laying on its back and temporarily stops inside the door compartments to hold the door flat. The knife hinges are temporarily put in place with a single screw and the door rough fitted. Fine tuning the fit (if needed)will come after finishing the cabinet and the hinges can be attached permanently. Knobs were made on my lathe from some scraps of Gabon Ebony.
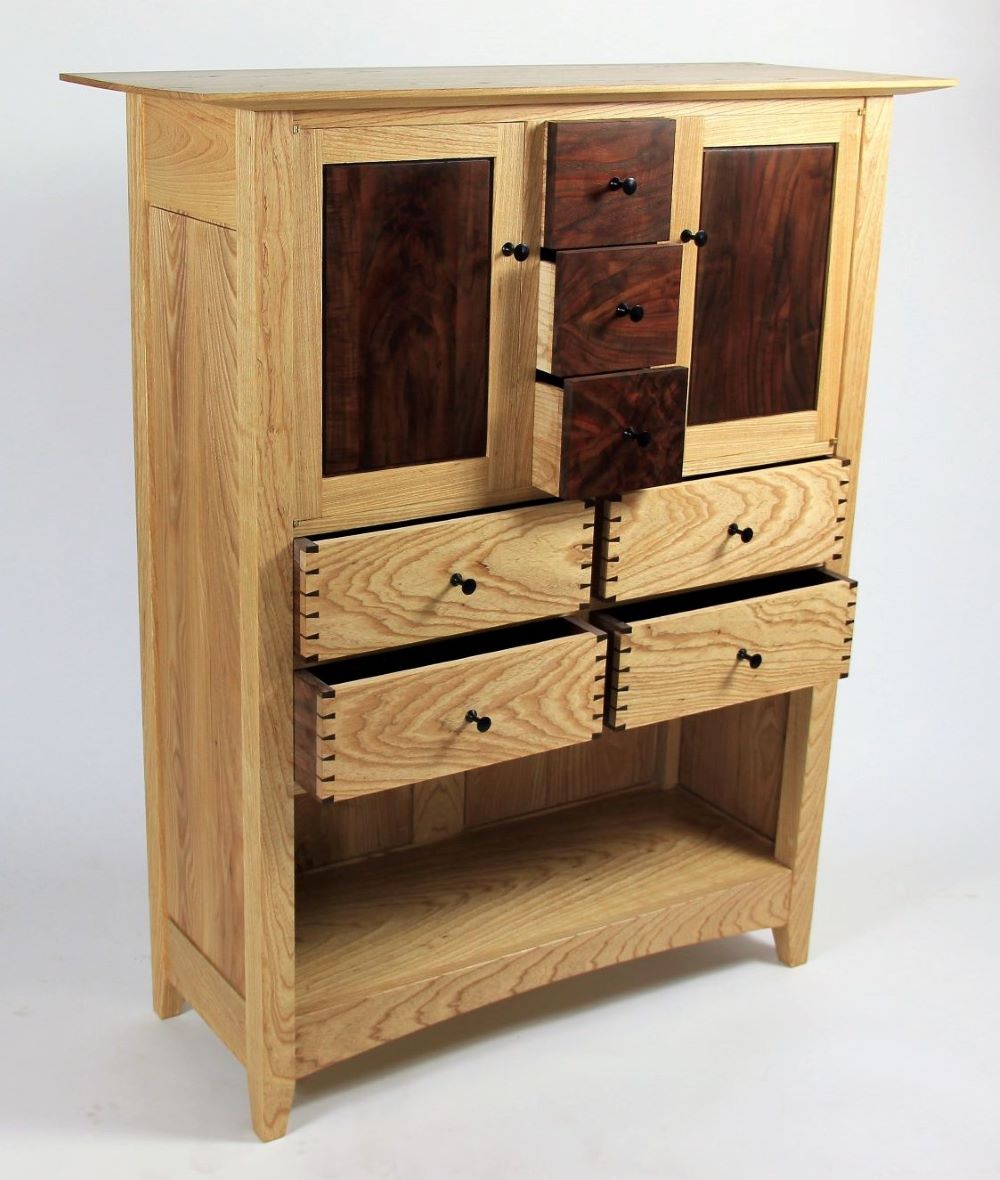
The cabinet is finished with several coats of a wipe-on/brush-on polyurethane (General Finishes), sanding with 400 grit paper between coats. One of the things I like about this cabinet is that it fits well in either a light or dark corner of a living space, as it has a nice contrast between woods in either situation.
Back To Top Home