Posted Jan 21 2019
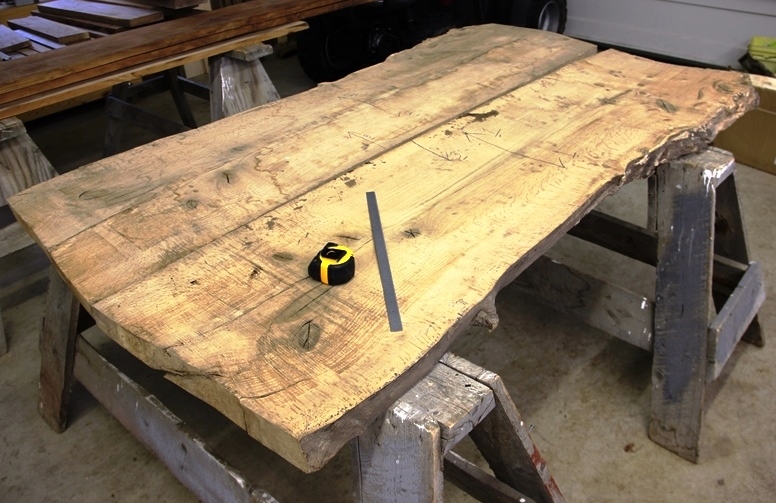
A friend presented me with 2 massive, book-matched, live-edge red oak boards that he had in is family for years. He had just stored them away, thinking of building a table from them eventually. I told him I had just the solution in mind.
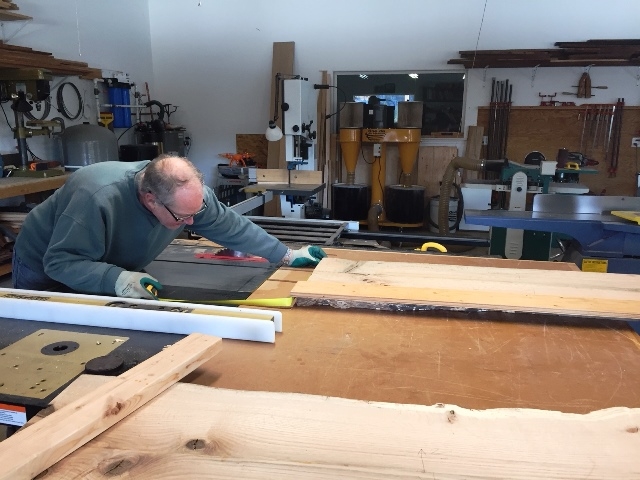
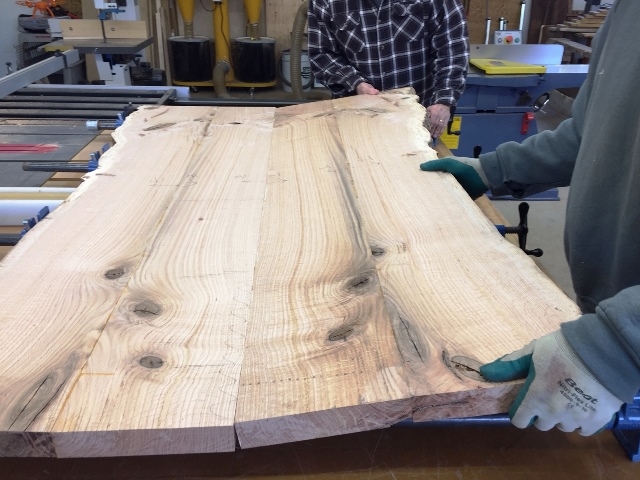
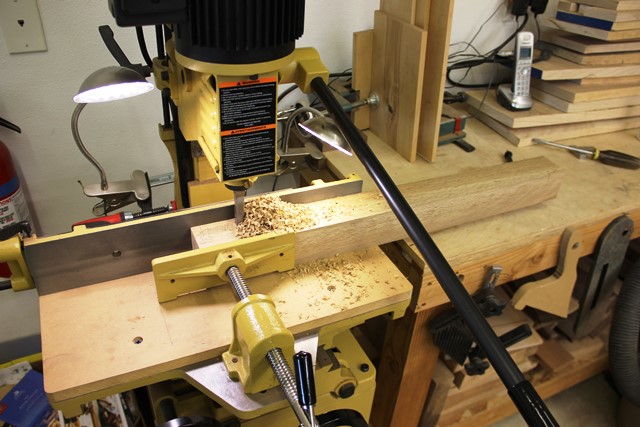
Both of these boards had some heavy dishing along the grain, so first off was to rip them on the bandsaw to take the dish out and then flatten them for glueing back together. As they were too big for my jointer, a considerable about of hand-planeing was necessary. I screwed a temporary piece of plywood over the live-edge side of the boards to enable the opposide side to be straightened on the table saw.
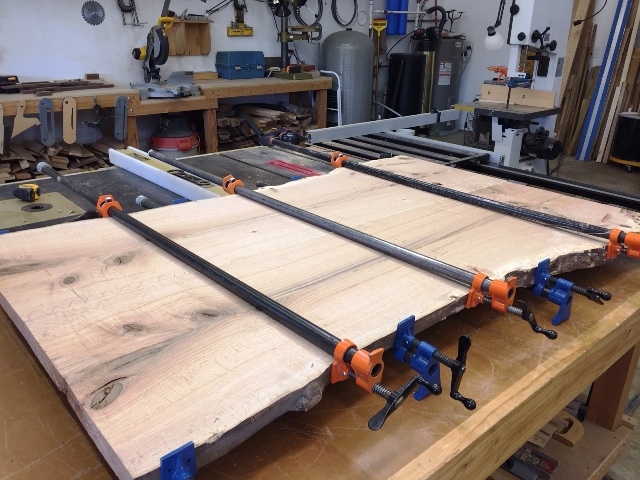
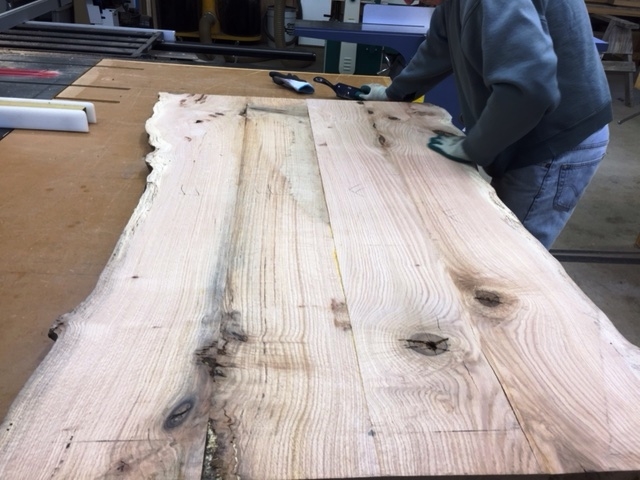
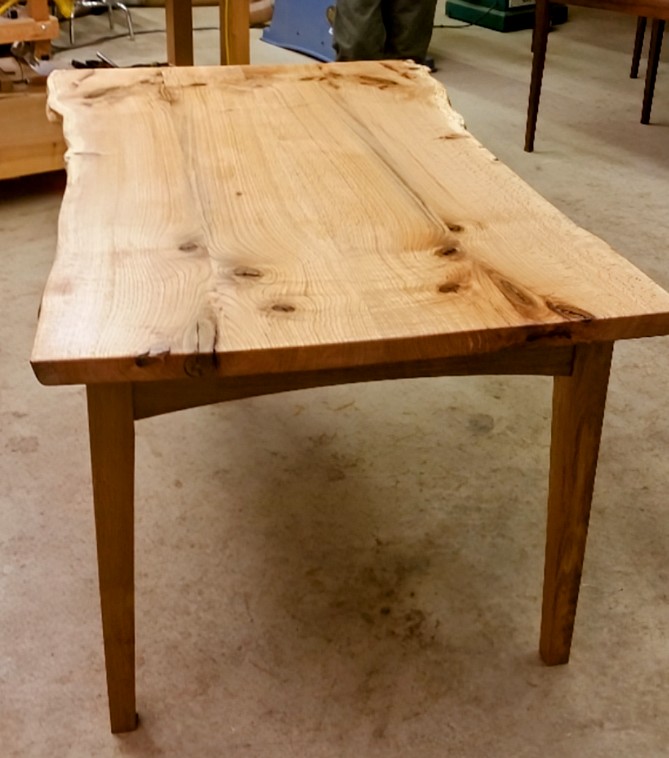
After glueing the pieces back to form (2) single boards again, the edges of the 2 boards were hand-planed to get them flat and then glued to each other. We now have a top with book-matched live-edges on both sides. The finished glued top is inspected for strength, joint alignment and then excess glue is removed before sanding. As this top is massively heavy, if will need to be made flat for the base-- there'll be no pulling it down flat with hardware!
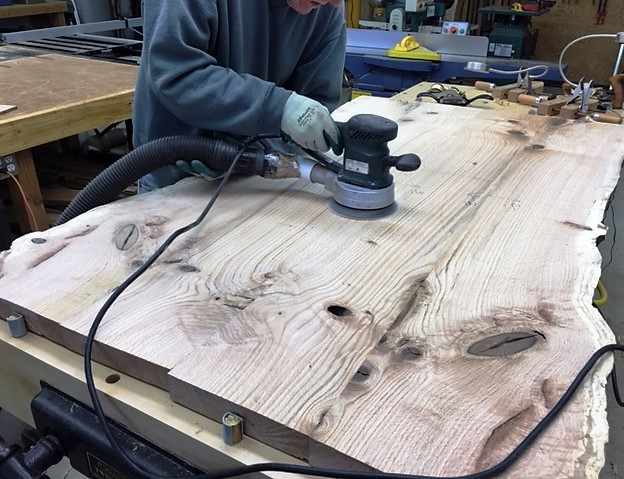
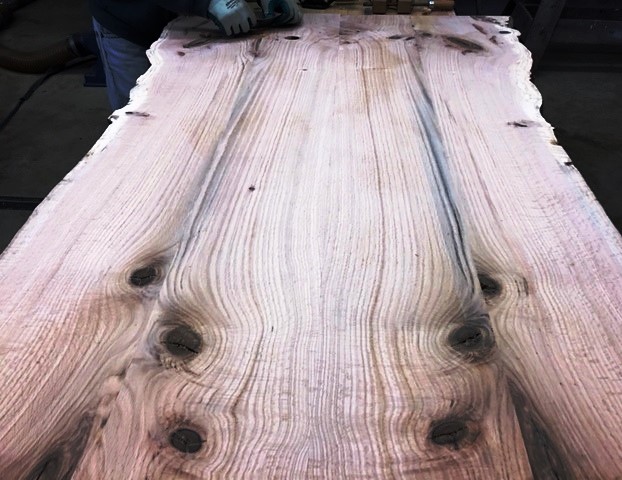
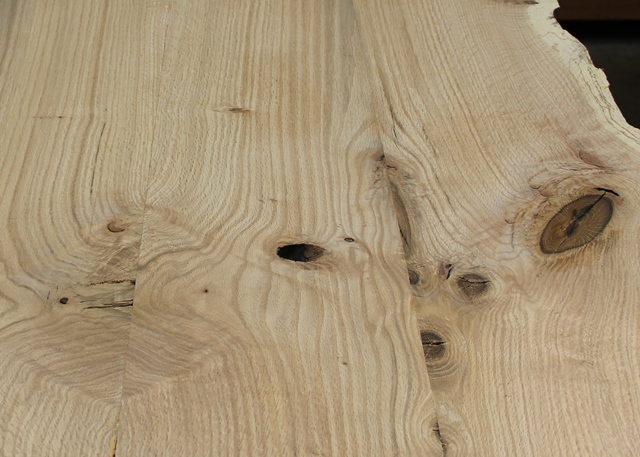
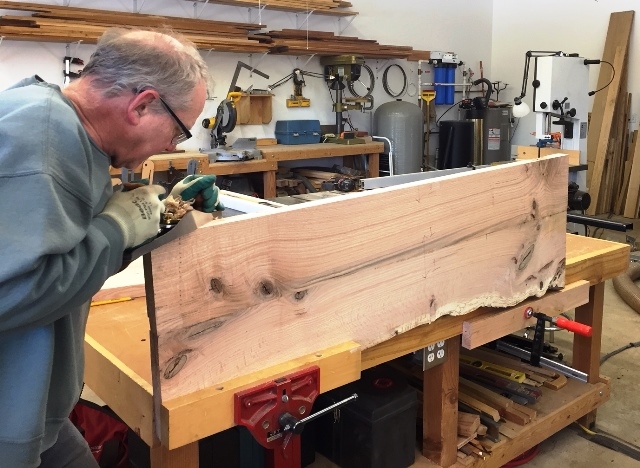
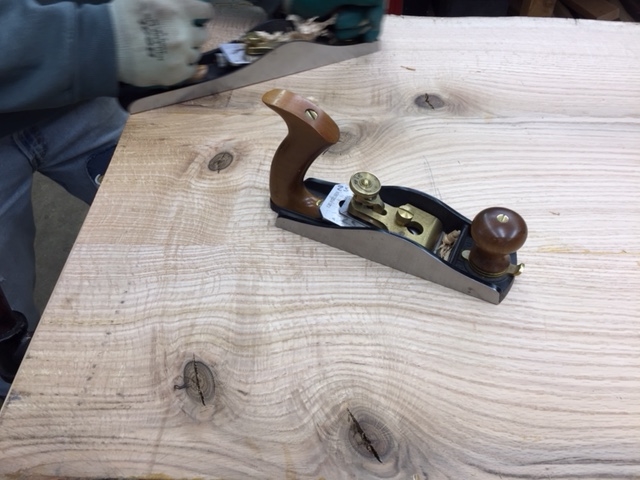
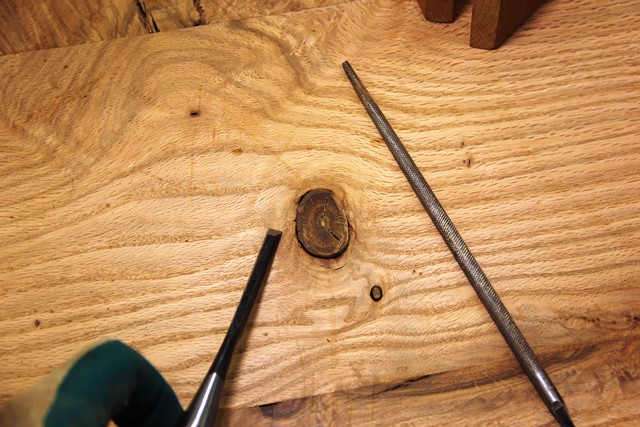
Now for some real work: I enjoy handplanning almost more that any other aspect of woodworking. Which is a good thing, as this top will require a real workout to get it flat. After the top is sanded, a little repair work to an unsightly knothole is in order. Trimming the ends of the top in an arc yielded a piece of scrap that had a knot in it about the same size as the knothole left on the top. The knot was removed from the scrap and shaped to roughly fit the hole. After glueing in place, chisels and a handplane made it flush with the top.
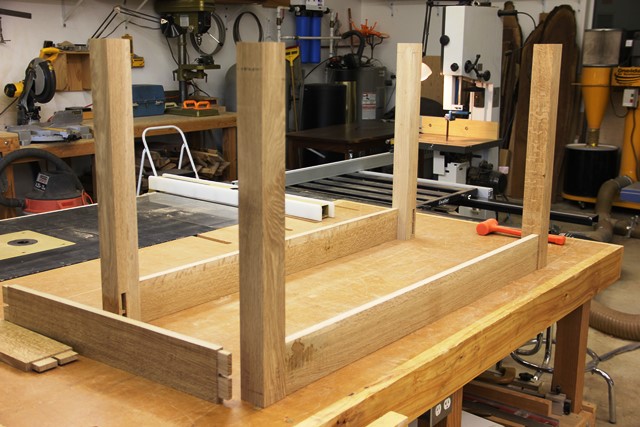
My Friend also had some old 4/4 and 8/4 white oak that he had be storing. Although the top is red oak, we decided to make the base from the available white oak, especially as it had considerable figure and color. Legs were mortised and then tapered on the insides. Aprons were ripped and large tenons added to the ends to join to the legs. The aprons also had an arc added to the underside.
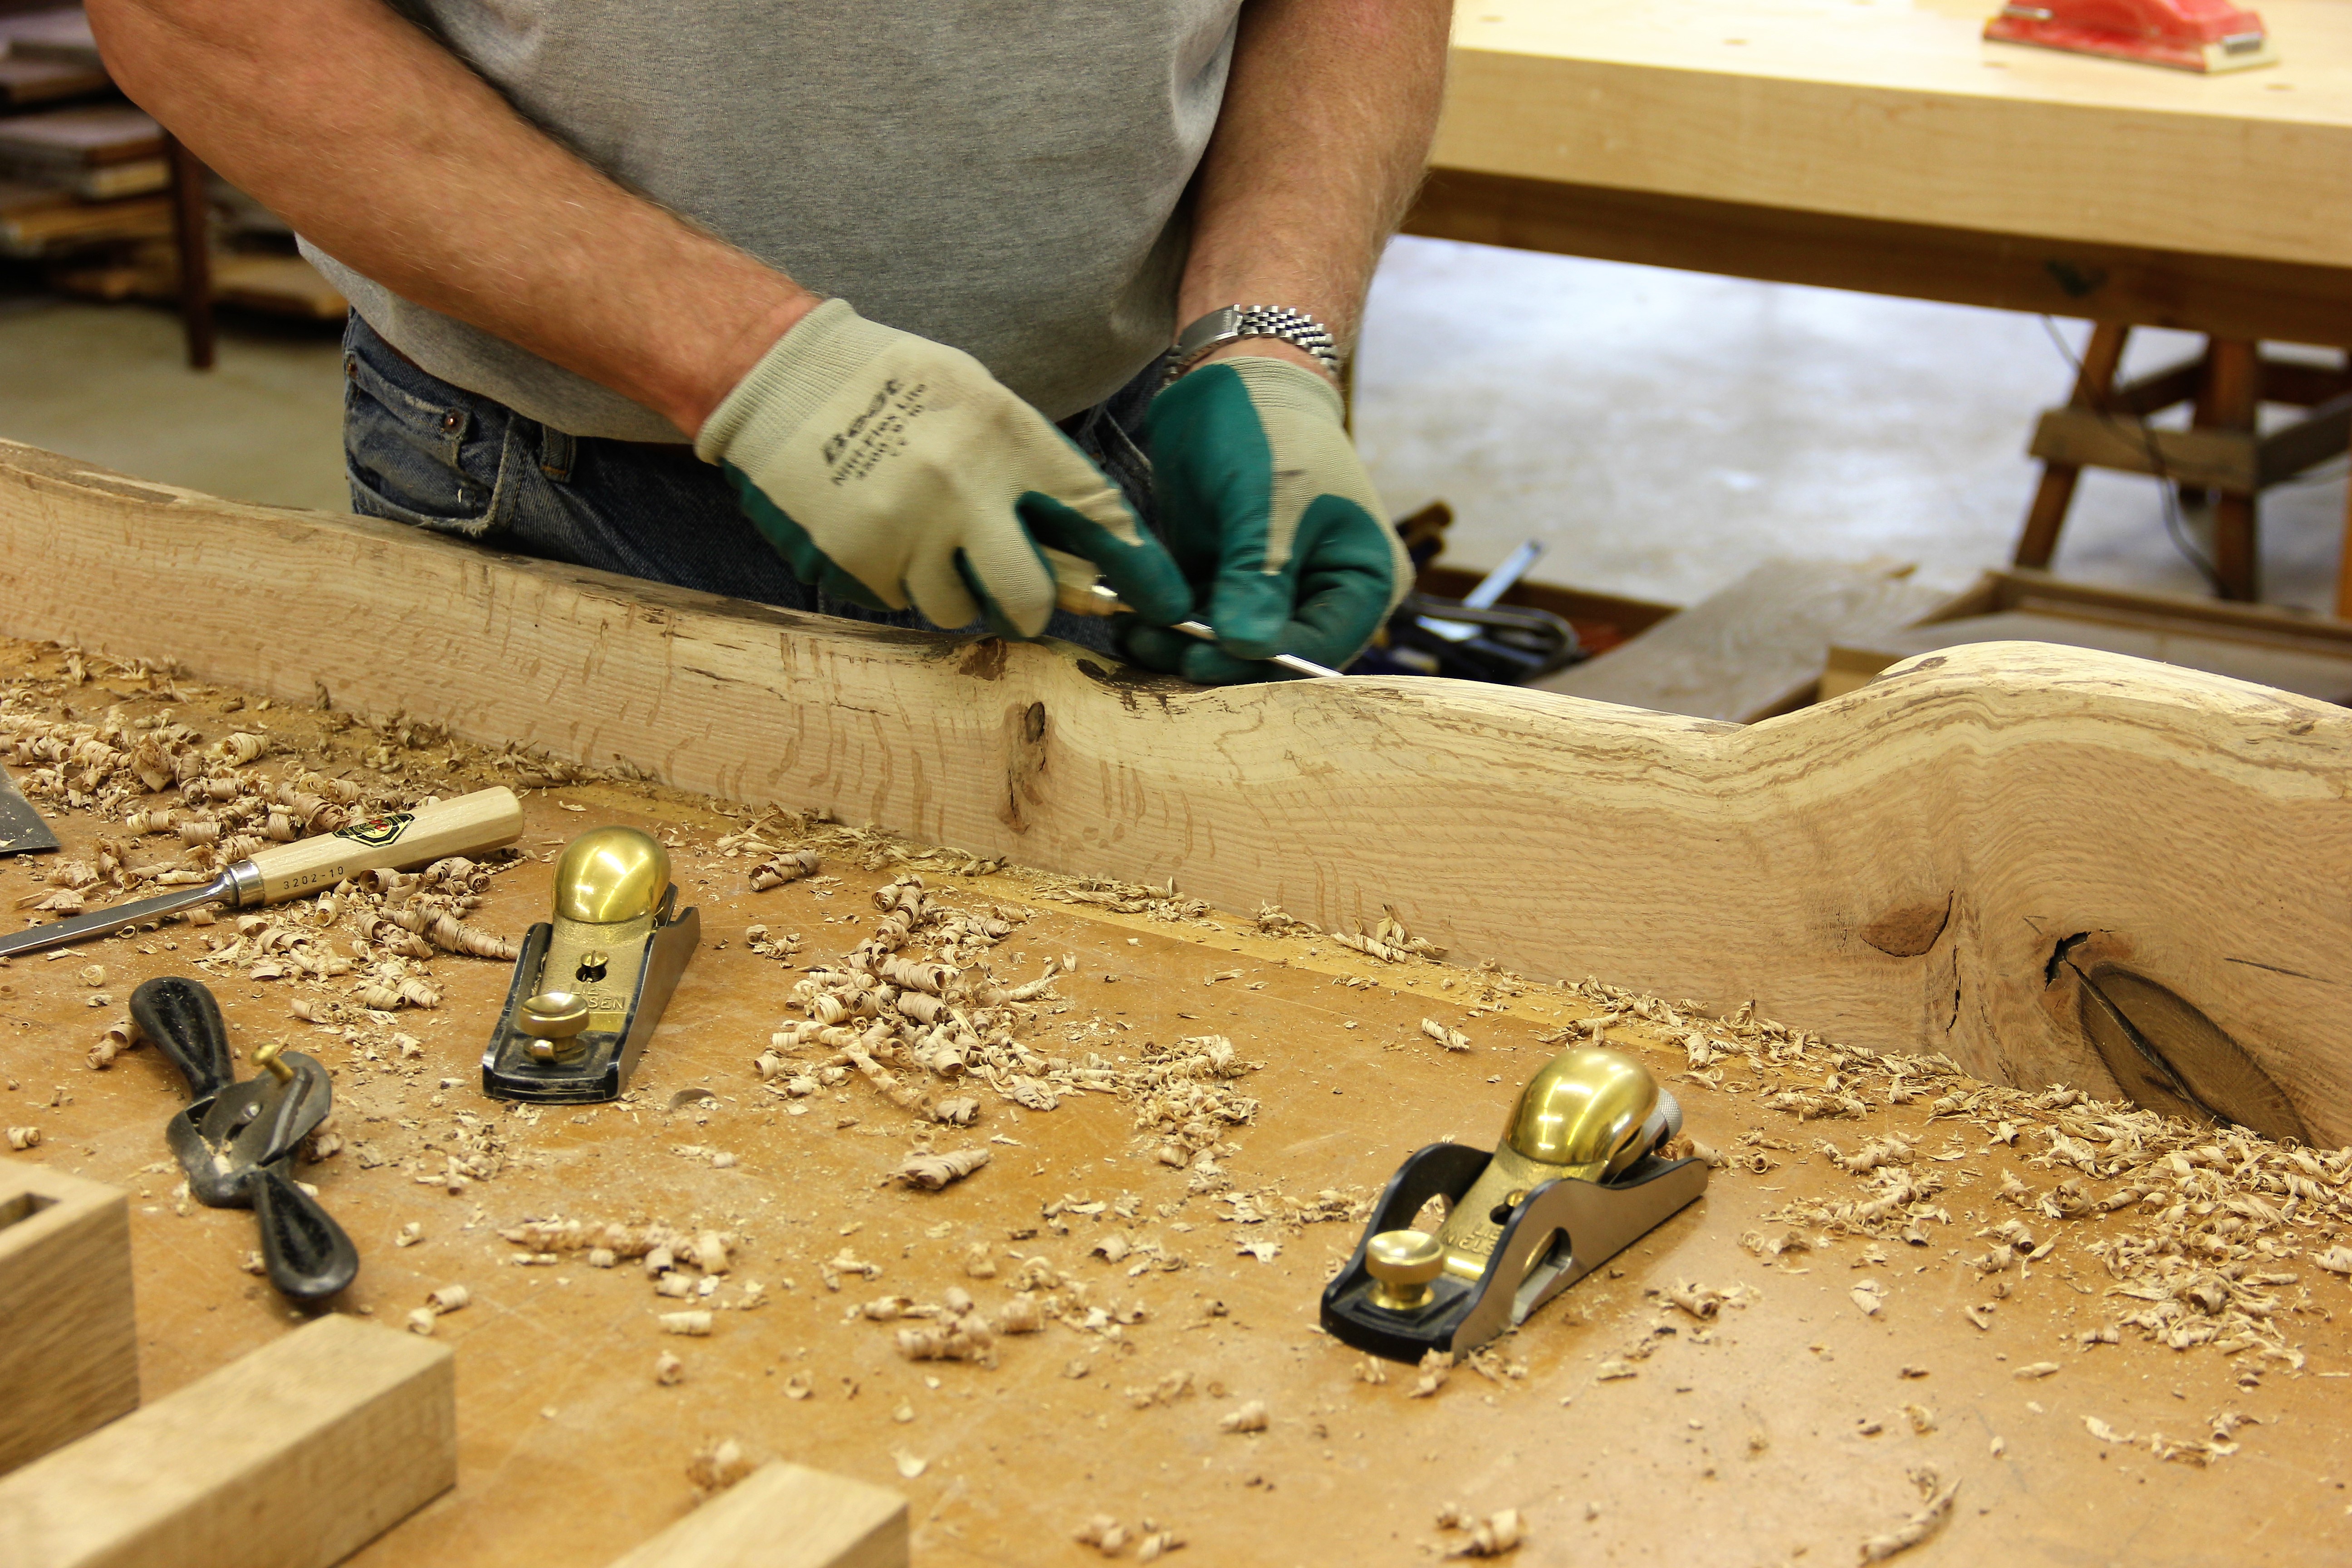

The edge is cleaned up with a combination of hand planes, spokeshaves, chisels, carving tools and scrapers. Live-edge woods give the project a unique natural look, something that can't be obtained with just grain, curves and arcs. Although working with them can present some challenges, the overall effect is worth the effort.
Back To Top Home