Posted May 1, 2017
There is an abundance of hardwoods and small sawmills in the Ozark area of Northern Arkansas that we've traveled to many times to visit friends. A friend got us connected with a great deal on some local black walnut, rough-sawn lumber that had been stored and stacked inside a garage for several years and was well seasoned. So, we purchased a small trailer, loaded up the lumber and headed down the road for home.
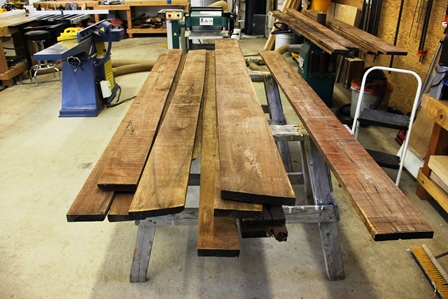
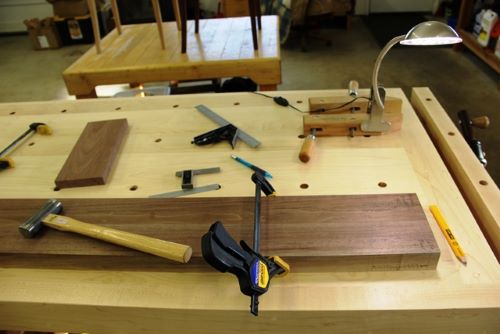
Once I got the lumber unloaded into my shop, I was able to sort through it and get a good look at color, grain, checks, etc. and formulate a plan to turn it into a finished cabinet. As all of it was rough 4/4 stock, fortunately, I already had some 8/4 of a similar color walnut that I could use for the legs.
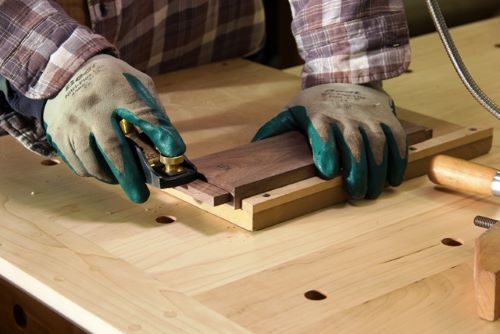
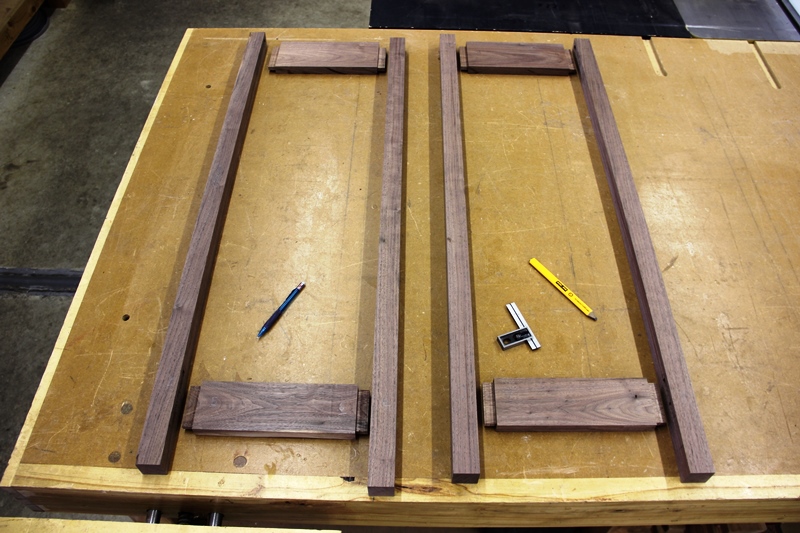
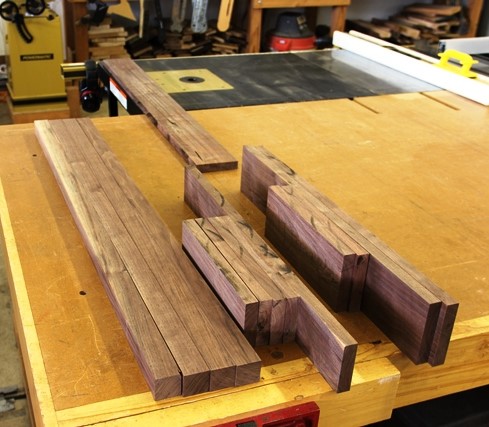
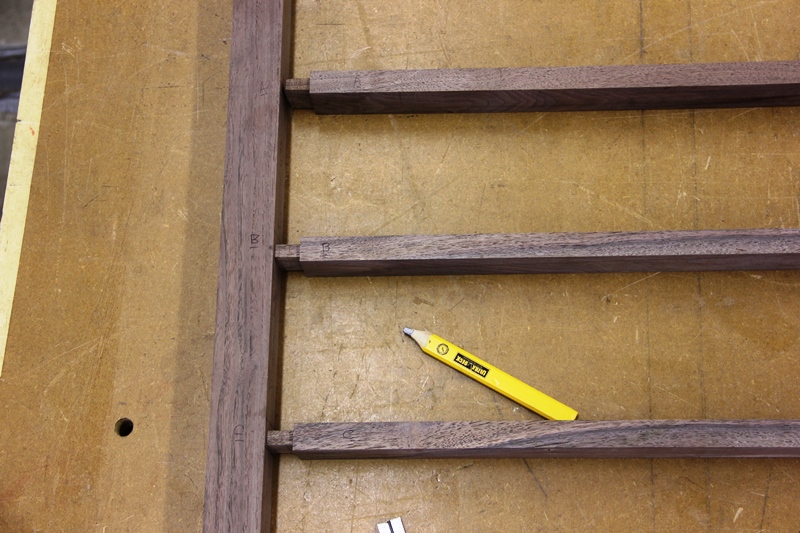
Legs are milled, cut to length and marked for mortises. Rails have the rough tenons cut with a dado stack on the table saw and then hand planed to fit the mortises in the legs. The side rails are dry fit to the leg mortises to complete the end assemblies. The back rails (upper, middle and lower) are milled and tenons cut to fit into the back legs. The front lower rail will be attached to a shelf in the front and then an arc cut into it.
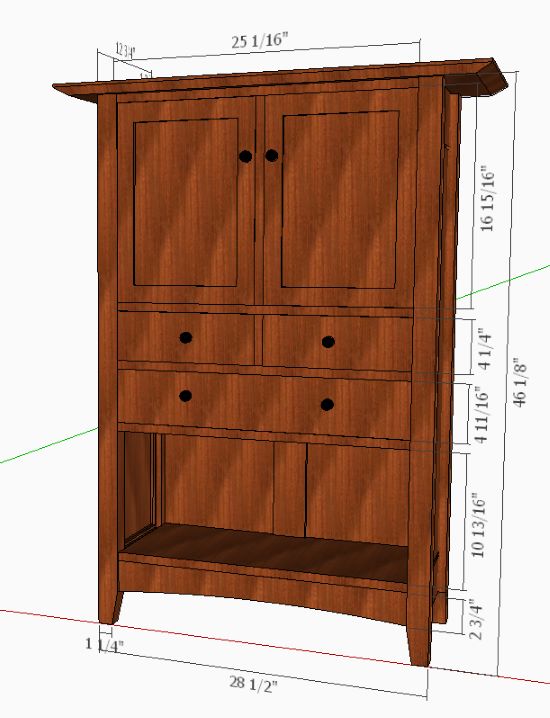
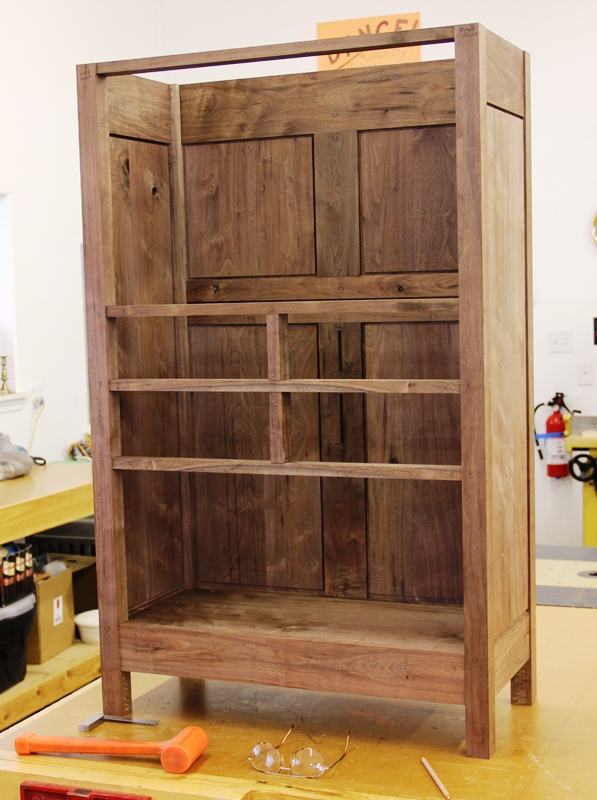
The cabinet front will be divided between 2 doors at the top, 2 rows of drawers in the center, and an open shelf at the bottom. The rails dividing the drawers compartments are mortised into the side of the front legs.

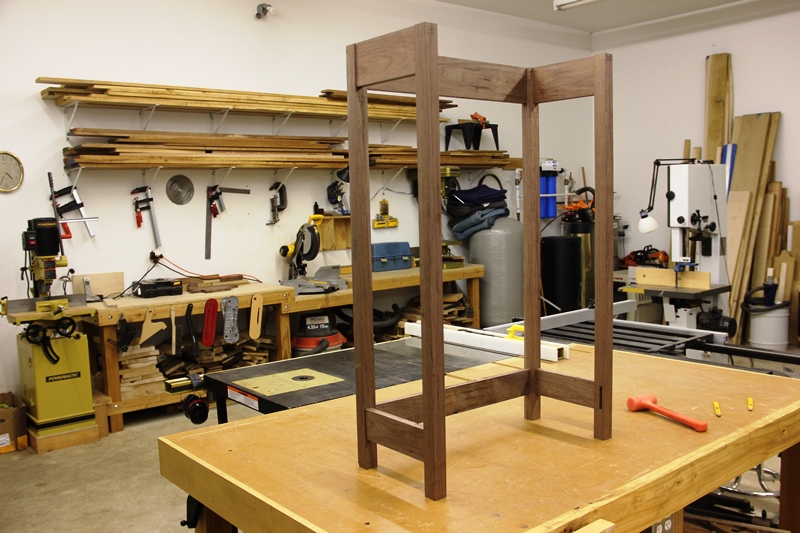
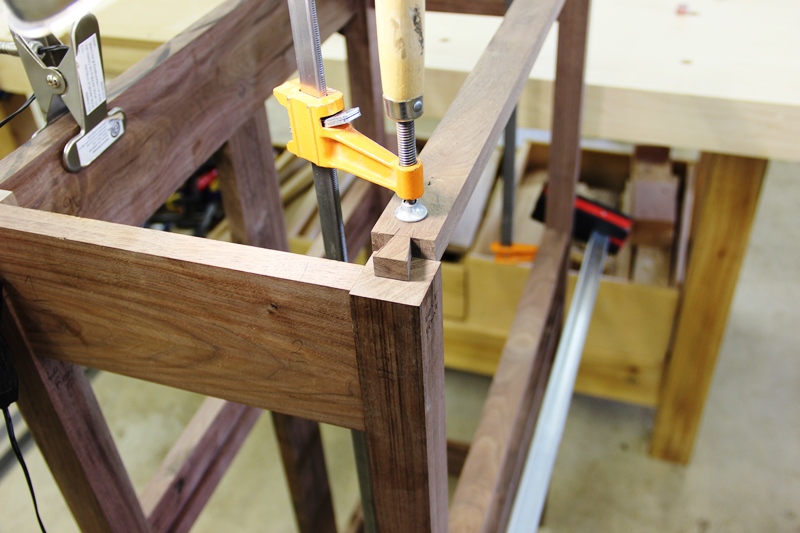
The front stretcher is dovetailed into the top of each of the front legs and makes the rough case considerably more ridgid. Two vertical back stiles are mortised into the back rails, dividing the back into 4 separate panels. The middle back rail is dadoed to accept a shelf for the door compartment. The bottom back rail is dadoed to accept the bottom shelf. The underside of the stretcher, as well as the top side of the door compartment shelf are mortised for the door hinges.


Vertical dividers are mortised between the horizontal drawer rails at the front on the cabinet. The dividers have a piece biscuted into the back that is attached to the case back stiles with a tenon. These will provide support for the drawer runners (the drawing shows 3 drawers, but I divided the lower into 2 separate drawers instead of a single).
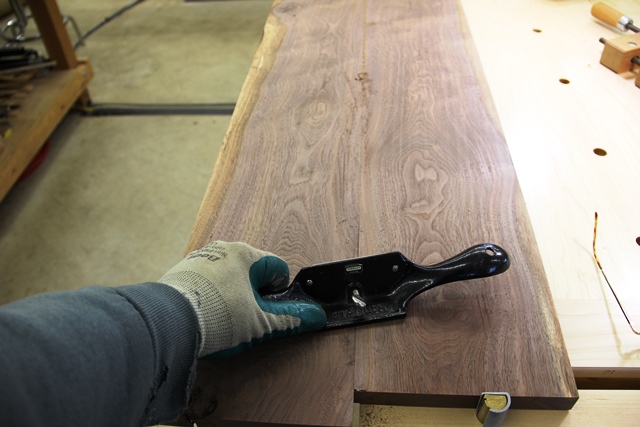
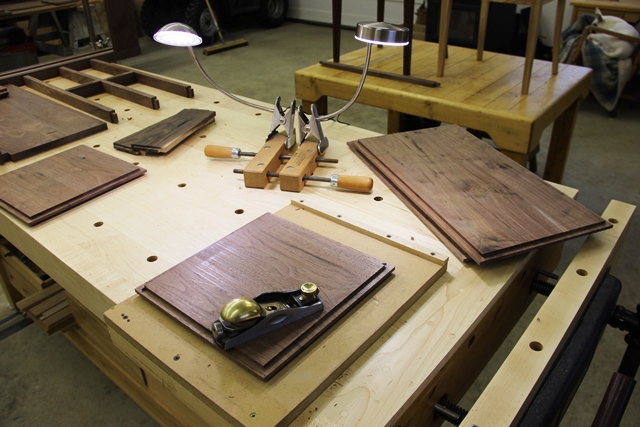
Now that the case can be dry fit together and the measurements for the panels can be made. Rough stock is chosen for grain and color, then glued together. There will be a total of 6 panels in the sides and back of the cabinet. Each will be fitted with a rabbit on all the edges and then fit into dados cut in the legs and rails.
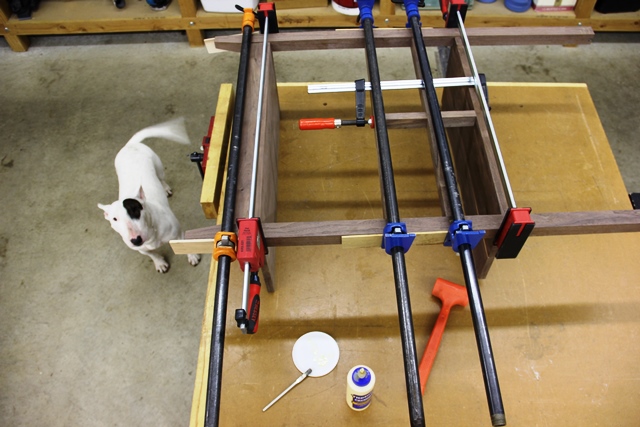
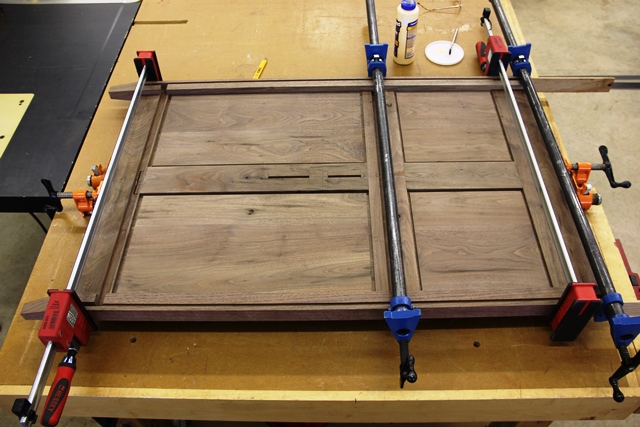
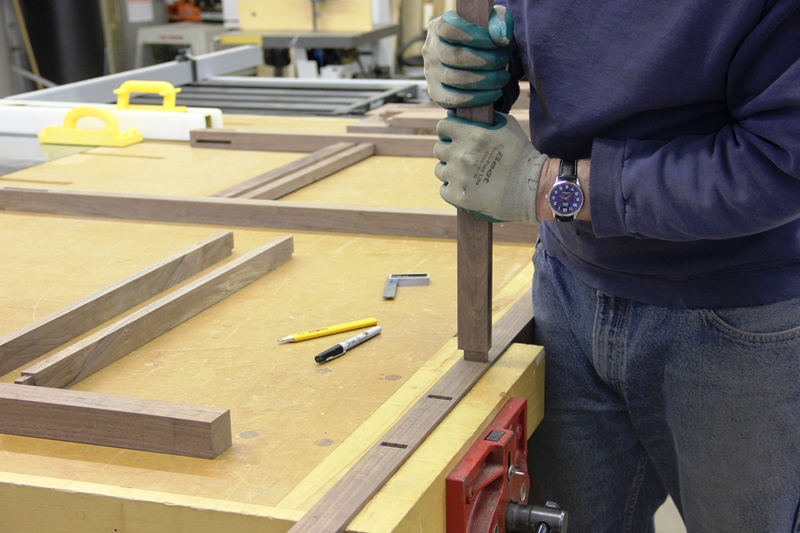
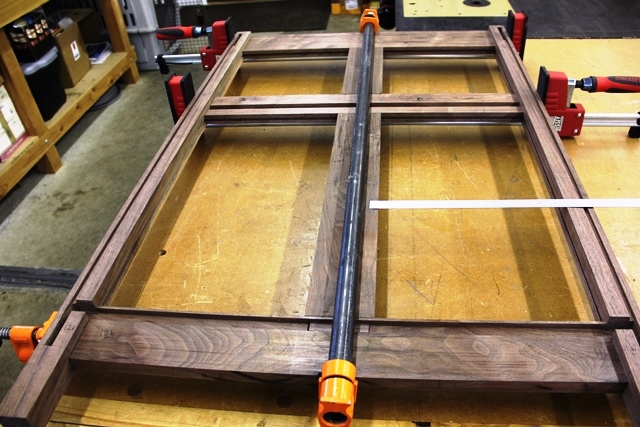
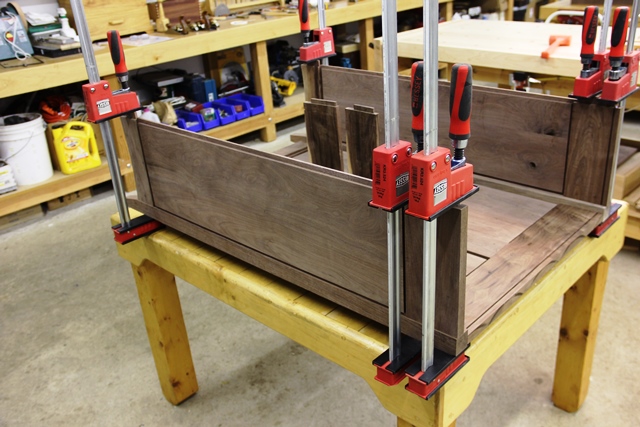
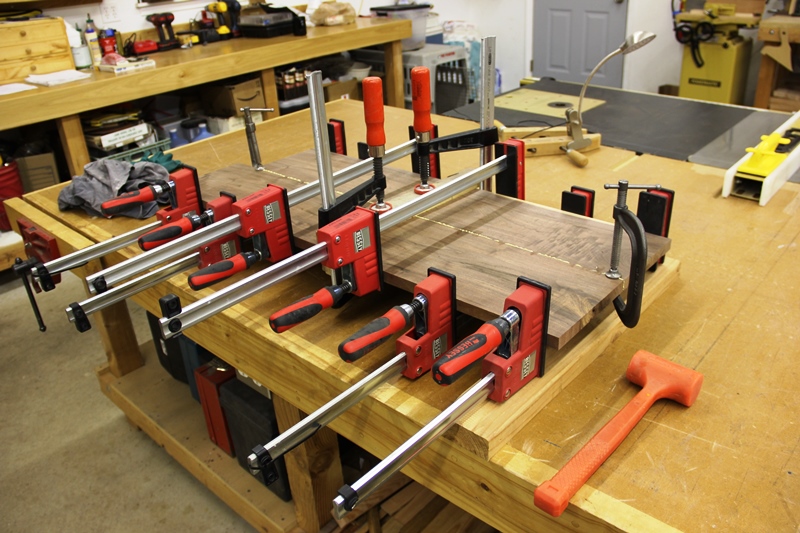
Now that all of the case pieces are fit (there are approx. 55 of them, absent the drawers, doors, and top) glue-up can begin. First the front is put together, including the 2 front legs (after tapering the lower ends), lower front rail with shelf attached to it, and the drawer rails.
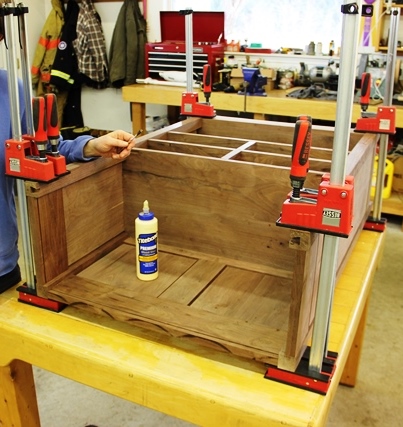
Next the cabinet back is glued as a single section. As in all of the sections, the panels will float freely in the dados to allow for seasonal wood movement (especially in hot, humid Arkansas). The sides are then attached to the back, with glue applied only to the upper and lower rail tenons where they attach the to back legs. Lastly, the front section is glued to the sides (top and bottom rails) and the top stretcher is glued to the tops of the front legs. Now the case is ready for drawer and door measurements and construction.
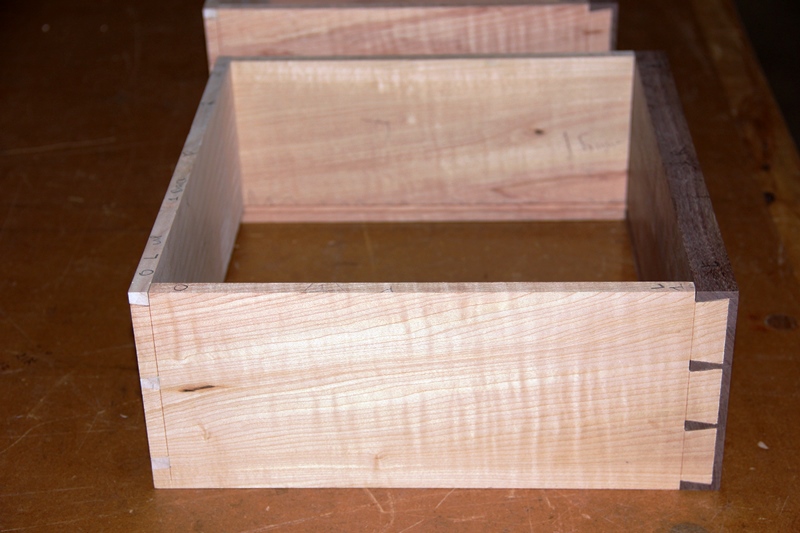
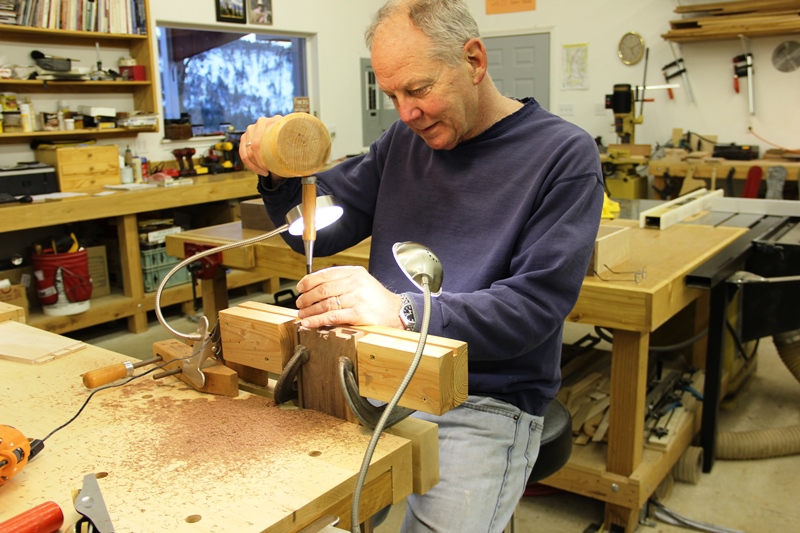
Drawers are built from Bigleaf Maple sides, alder bottoms, and walnut fronts, with through-dovetails at the rear and half-blind at the front. I rough-out the half blinds with a small router and then finish them with a sharp chisel.
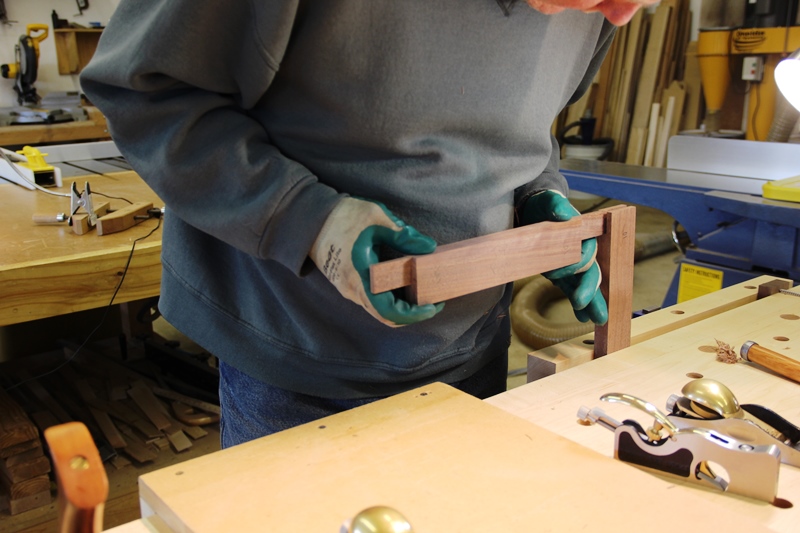
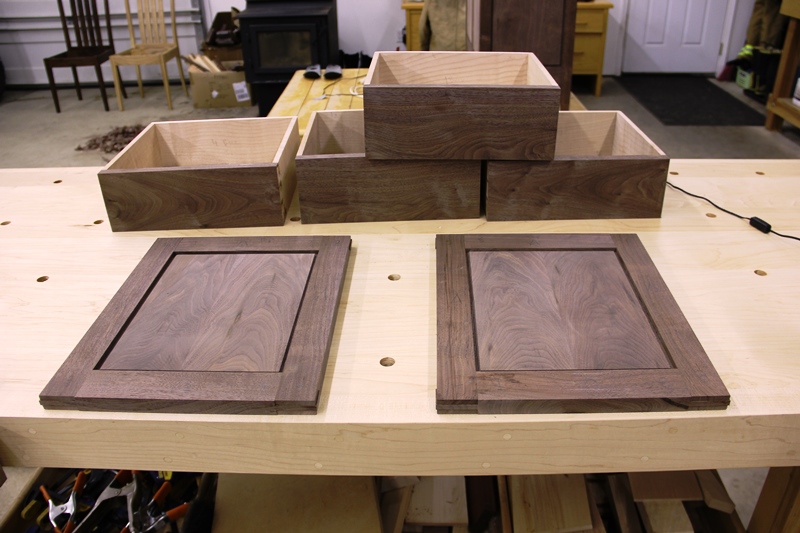
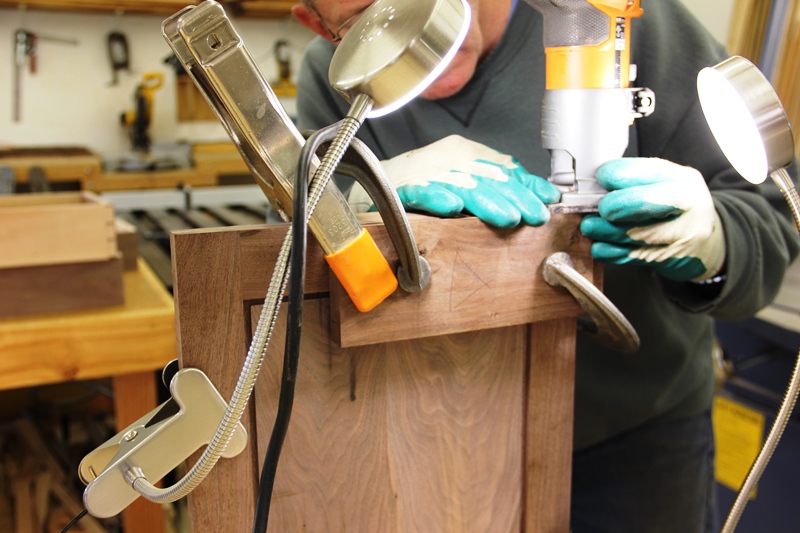
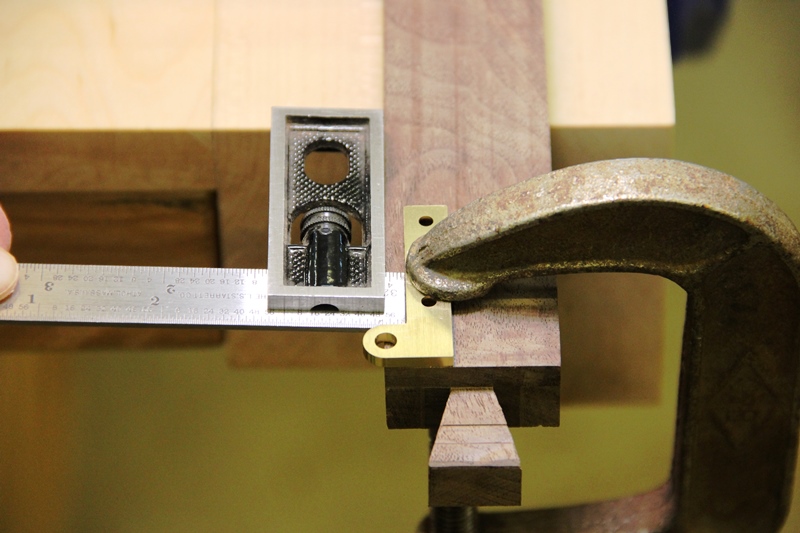
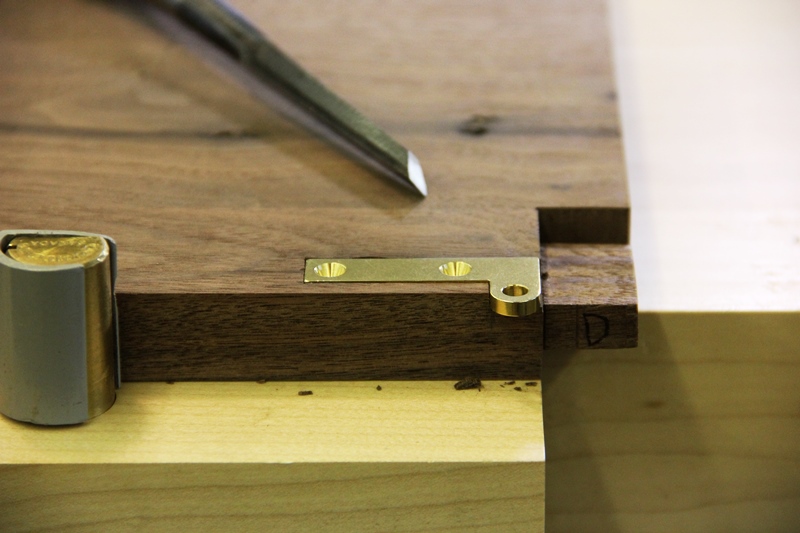
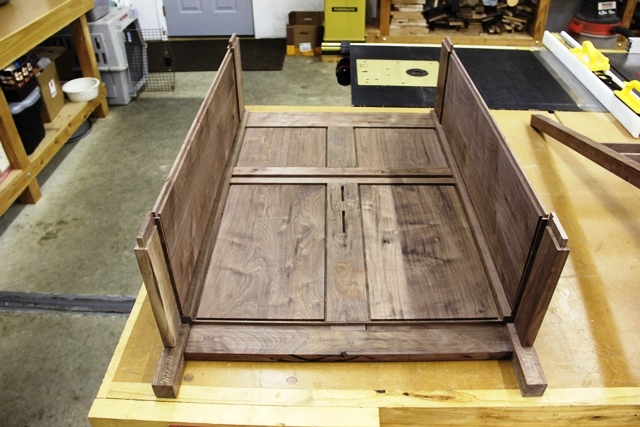
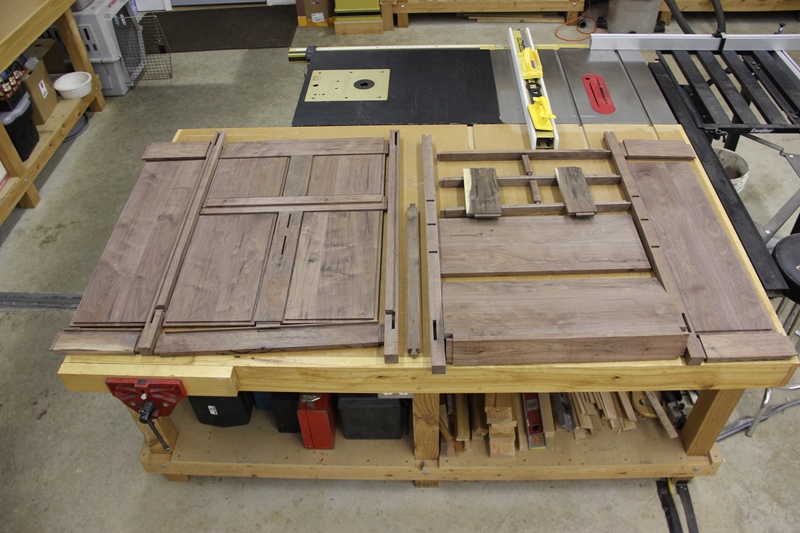
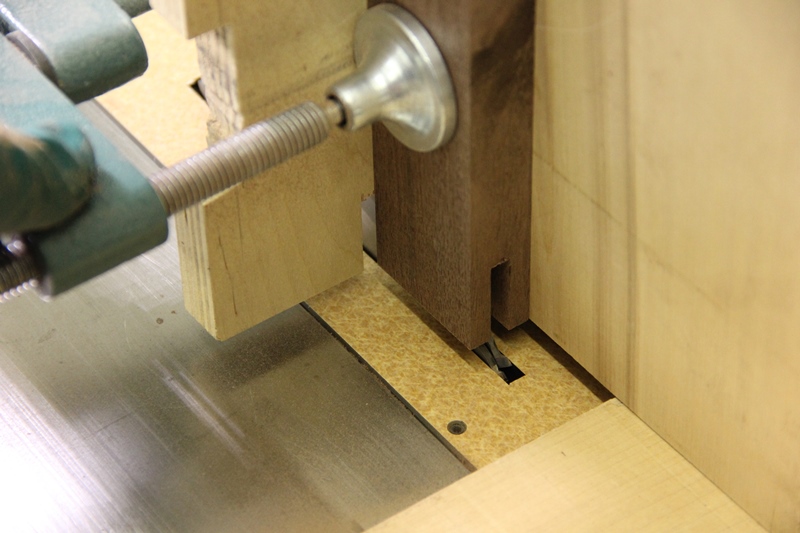
Doors are built from a frame joined together with bridal joints. The joint mortises are cut with a table saw tenon jig using a dado blade and the tenons are cut with a dado stack on the table saw as well. The doors will have a free-floating panel, similar to the case, with a rabbit on all edges that fits into a dado on the sides. After rough fitting the doors to the opening, mortises are routed and chiseled for the hinges.
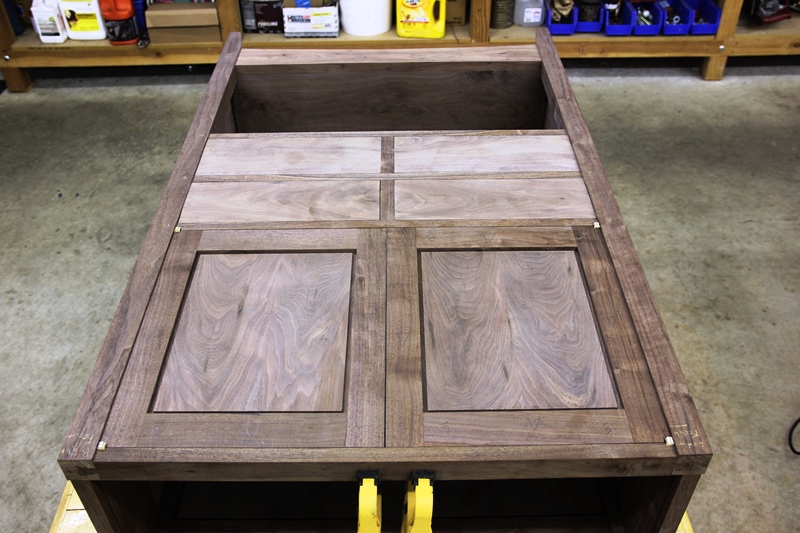

I rough fit the door while the cabinet is lying flat on a table, using clamps as temporary stops. The brass knife hinges fit into the previously mortised stretcher and shelf. The hinges will be removed before applying finish to the cabinet and door and then finalized after the last coat of finish. Next, the top is glued up, trying to find some pieces with figure and color that match the case. The top will extend past the case by about 3" and be beveled back on the underside toward the case, leaving an approx. 3/8" edge. I turned some African Ebony knobs on the lathe for the doors and drawers.


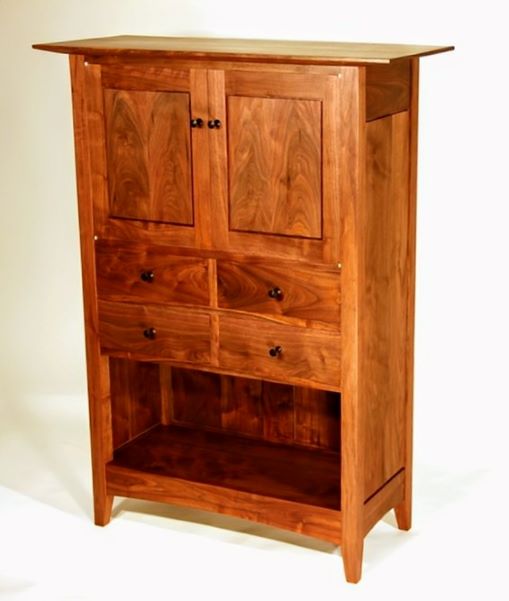
The cabinet is finished with 4 coats of wipe-on polyurethane finish, sanding between coats with up to 600 paper. Walnut, in a natural finish, I believe makes a welcome complement to almost any living space.
Back To Top Home