Posted October 15 2020

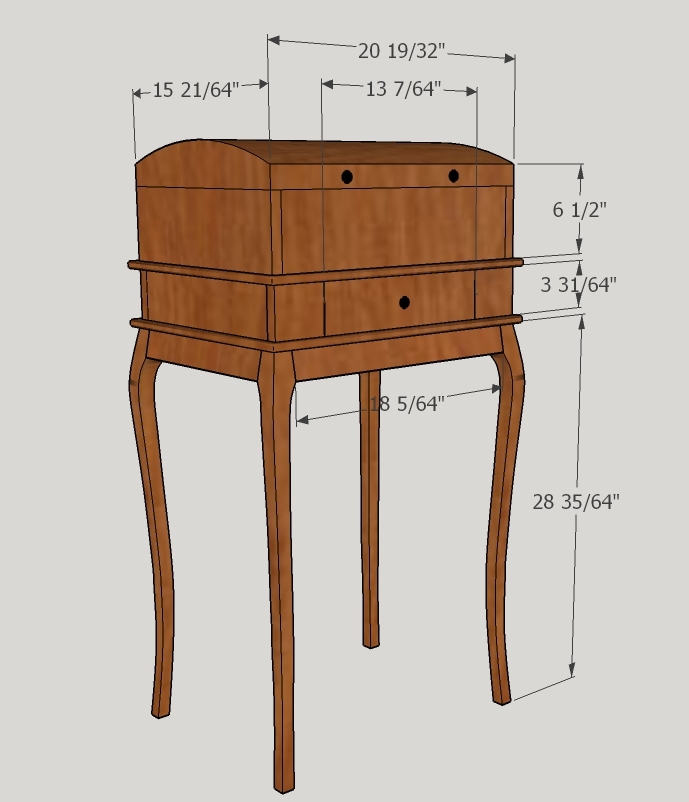
Having some Cherry that I had brought back from Arkansas, I was anxious to begin working with the wood as soon as it would be dry enough. After air drying in my shop for almost 2 years I decided to give it a go on a small Chest-on-Stand project that I had been contemplating for a while. While a bit more dense than the typical Pennsylvania Cherry I was used to working with, this lumber looked to have a bit more color depth and interesting grain as well. Note the model shows an optional molding above the drawer around the chest that I omitted.

While touring a museum in Mexico of what was once the Muralist Diego Rivera's home, I noticed a large chest on a stand that interested me as a project. While this museum piece was large, rectangular, and had turned legs, I wanted to try a smaller, curved-leg piece with a rounded top. The legs will be patterned in 3-dimensions, which will require some of my larger pieces of cherry. Because of wanting to conserve use of my larger stock, I tried several designs, drawing them free-hand on scraps until one of them had the curvature as well as enough height on the leg top for the apron size I was looking for.
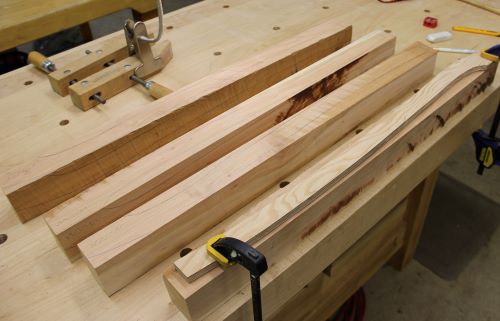

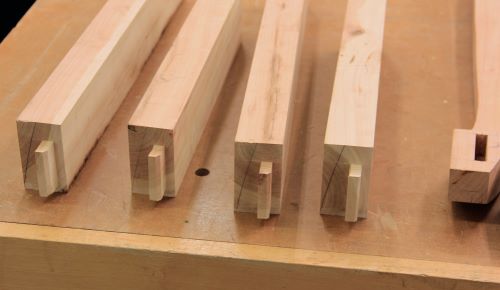
I cut the mortises on the faces before cutting out the pattern on the bandsaw. After cutting the pattern on the first face, the pieces are taped back together and then rotated 90 deg. for the cut on the adjacent face.
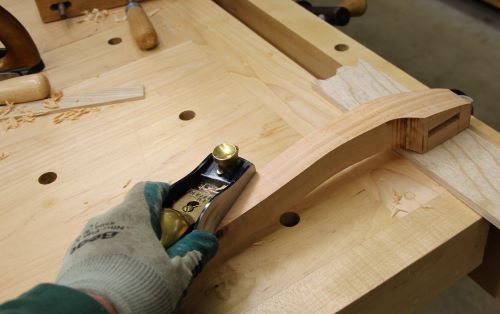
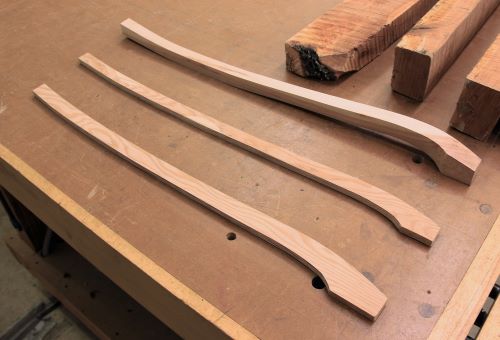
After rough-cutting out all 4 legs, block planes and spoke-shaves are employed to get the curves as close to the pattern as possible. Rasps and round-files are also useful, especially to shape the sharp curves where the apron bottom meets the legs.
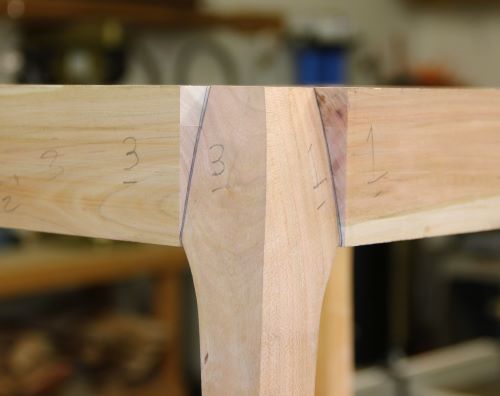
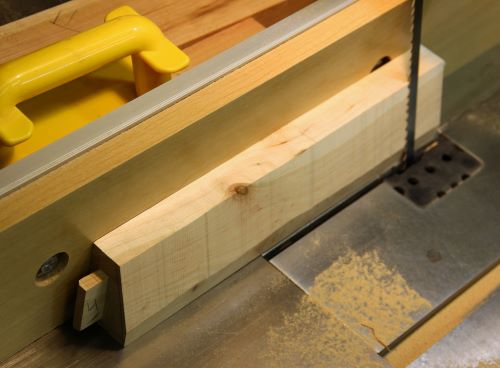
Tenons are cut with a dado on the table saw. Because the aprons will fit flush with the face of the leg (instead of leaving a revel) and continue with the curve of the leg face, the rough aprons are cut oversize on thickness and the leg face curve is traced onto the apron end. The bandsaw (table angled) is first used to remove the rough stock and the finished curve is then smoothed into place with hand planes, spoke-shaves, and sandpaper. The underside of the joint also needs to be smoothed into place where it transitioned into the leg face, mostly with rasps and round files.
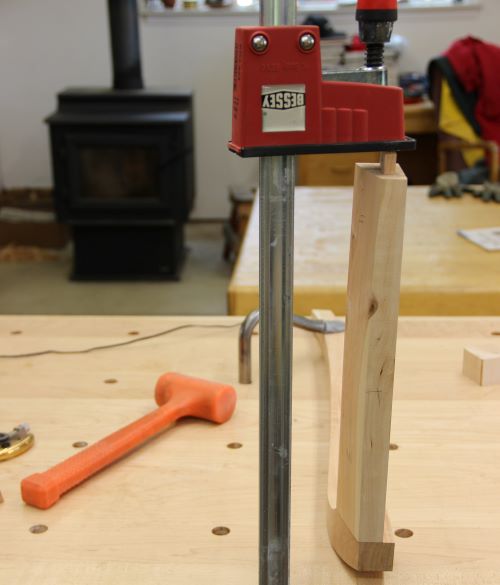
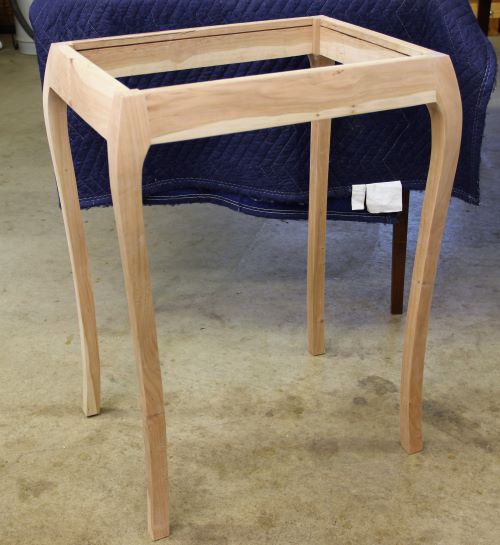
Glue-up with the curved legs can present some challenges, mostly because of a lack of flat surfaces for clamps. The aprons also receive a horizontal dado near the top for clips to connect the chest base to the stand.
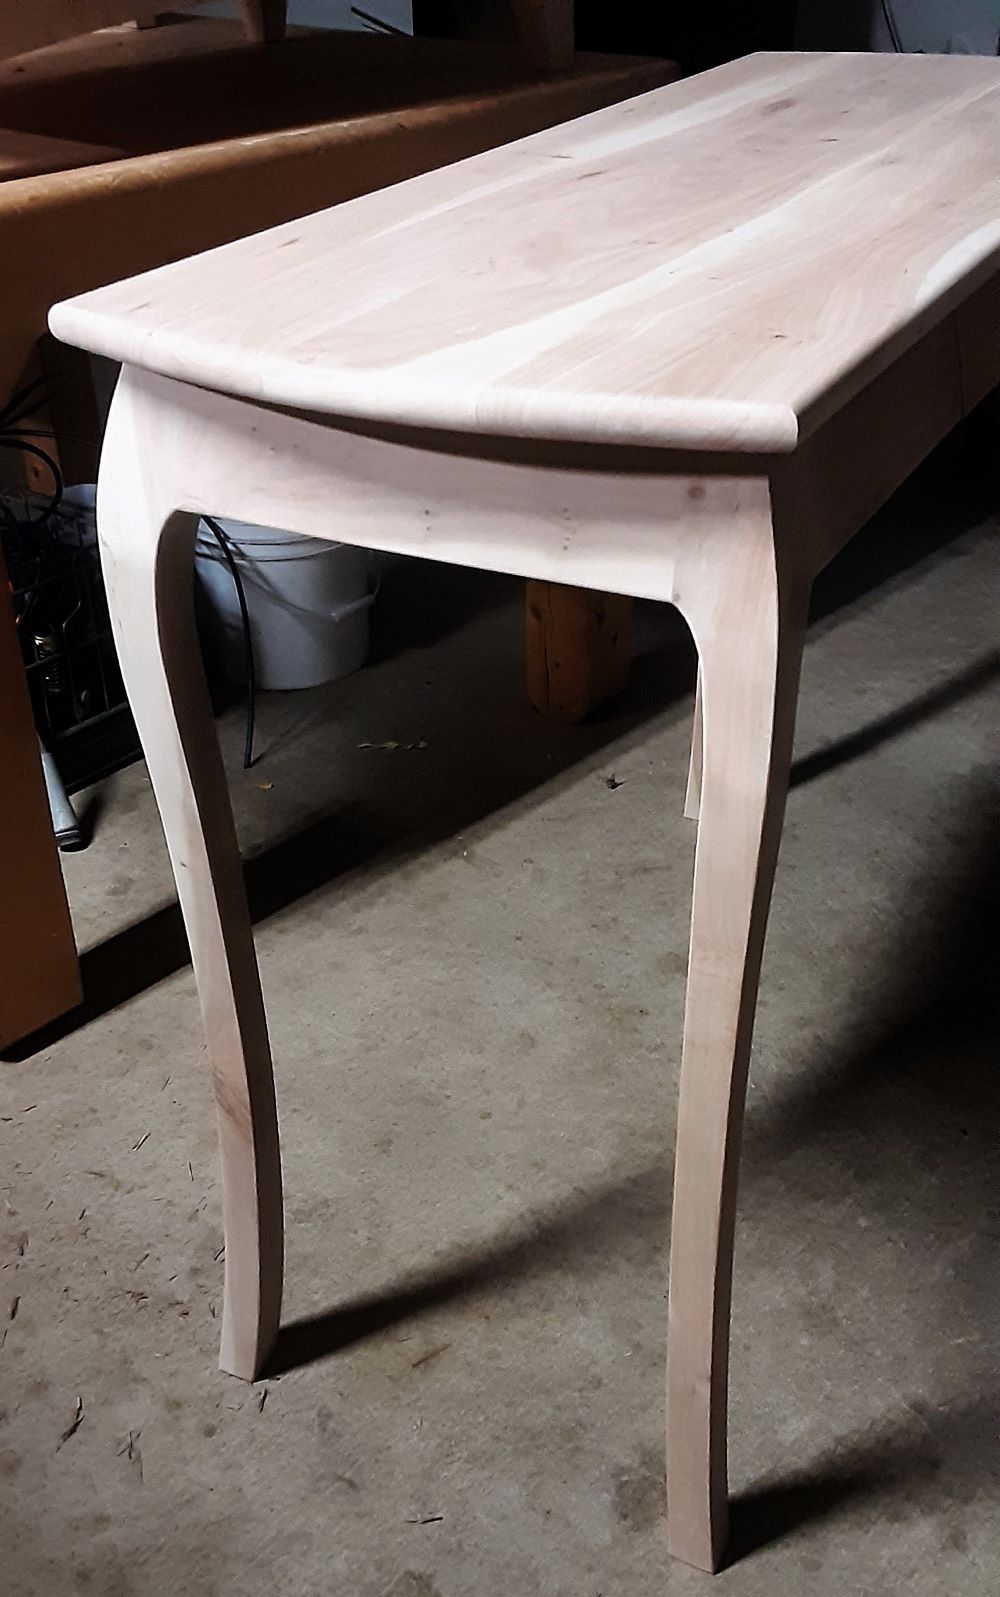
I built a larger table of cherry using this same design for the legs as a separate hall table. The legs blend gracefully into the tapered aprons and with just a simple top (ends with arc edges), the design works well without the chest.
Chest Construction Home